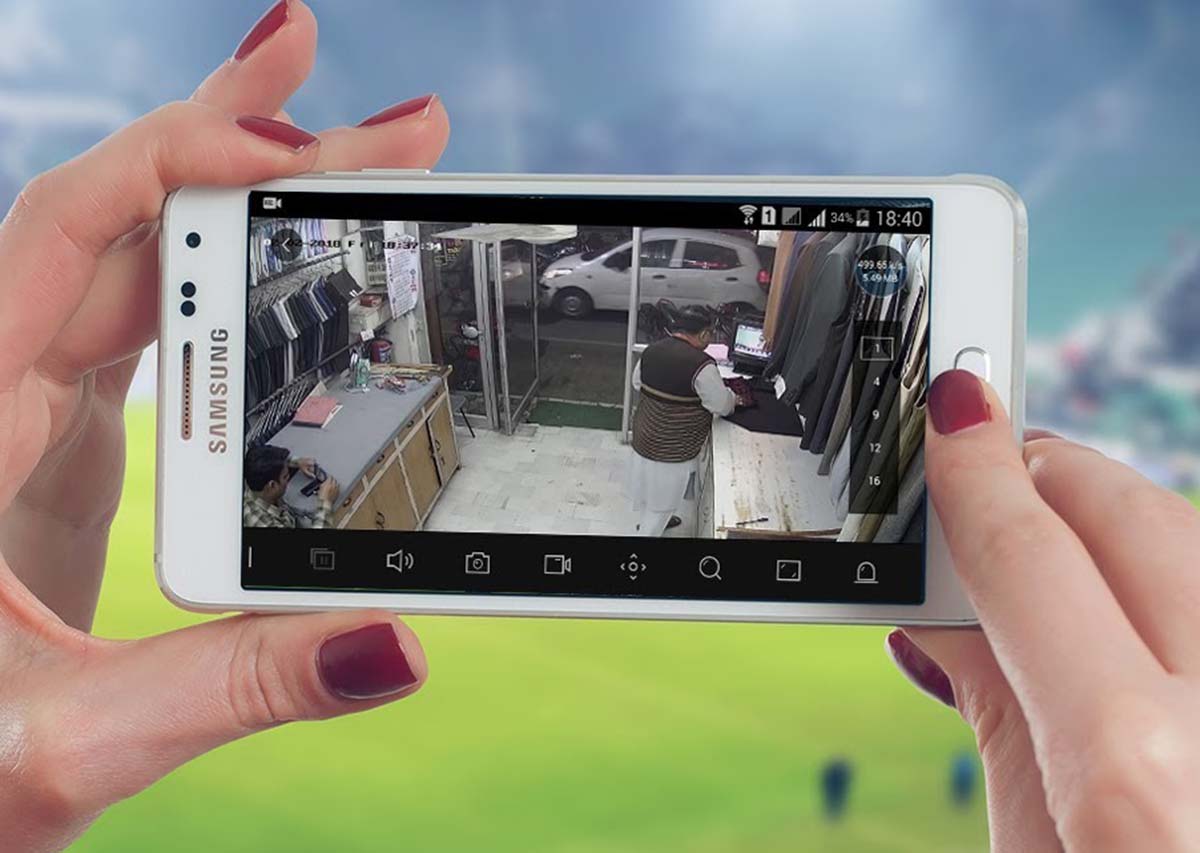
A surveillance security system’s strongest point is the ability to view and playback the cameras remotely on the phone, computer, or tablet. Setting up your NVR or DVR for remote viewing allows you to watch the camera’s live feed while you’re away from your property.
Nowadays all security camera systems are designed to protect the premises 24/7/365, no matter if you’re there or not. Even if you have a monitoring company looking up for any notification coming from the security system, you still want to check the system by yourself and make sure nothing is amiss.
Having the NVR setup for remote viewing lets you watch the camera’s live feed, playback, back up remotely, receive alarms and notifications, getting snapshots, and much more, and all of this is controlled via your phone, tablet, or computer. It’s like having your premises’ security in the palm of your hand.

How to set up an NVR for Remote Viewing (phone, tablet, computer)
There are 6 steps to setting up your NVR for remote viewing:
- Understand your local network
- Setup a DDNS account
- Open the ports (Port Forwarding)
- Assign the DDNS to your NVR
- Add to the phone and verify that the Remote Viewing works
Note: Many NVRs support viewing via QR codes. Basically, you scan the QR code on the box or on the settings, add the username and the password of the NVR and you should be able to see the cameras right away. In this case, the remote viewing is done via a “middle man”: you NVR – middle man (manufacture’s server) – your phone. The method showed here cuts the middle man, the communication goes from your NVR to the phone directly.
1. Understand your local network
Setting up your NVR for remote viewing means accessing your Local Area Network (LAN) from the Internet (WAN – Wide Area Network). When you want to see a camera’s feed on the phone, you’re going from the “outside” Internet to your local network (where the system is installed).
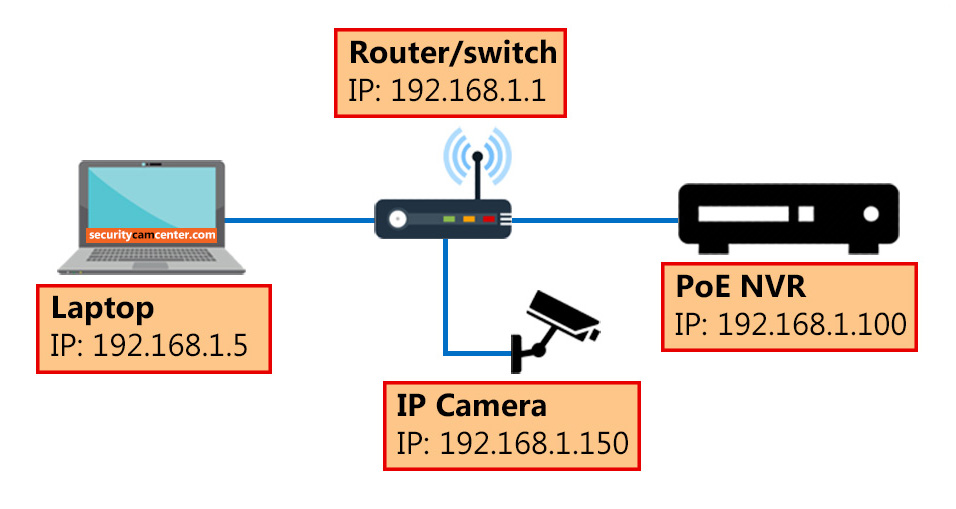
All the devices on your local network are connected to your router which assigns two IP addresses: one IP address unique for each device connected locally (for example NVR, printer, laptop, etc) and another external WAN IP that identifies that local network on the Internet.
 Usually, the router’s local IP address is 192.168.1.1, however, it can be in other formats such as 192.168.0.1 or 10.0.0.1. It depends on your Internet service provider or the way your router is set up.
Any devices connected to that router such as smartphones, computers, tablets, NVRs, are assigned the same IP format except the last number will be generated “randomly” (between 2~254). instead of ‘1’. For example, the IP address of your NVR maybe 192.168.1.100.
This local IP address can be static or dynamic. Static means it will not change when the device reboots, it will be the same IP address all the time. Dynamic means the routers assign an IP address to the devices anytime they join the network. For security camera systems, it’s important to have a static IP address.
The external IP address of the network (the so-called WAN address) by default is dynamic. If you want a static IP address, you need to contact your ISP and pay a monthly fee.
Dynamic addresses are automatically rotated by ISPs for security purposes or power fluctuations. Because its WAN IP address changes randomly, any web service attempting to connect to your local network needs either constant manual updates or a static address (which is generally called a DDNS address).
2. Setup a DDNS account
A DDNS is like a nickname of your network that ensures that you can reach and access the network even if the external IP address (WAN) randomly changes. Basically, when you open a DDNS account with a provider, your network will be associated with a customized hostname).
In other words, instead of having the WAN IP address (for example, 80.52.66.112), you can have it customized to something like myhome.DDNS-provider.com. So, anytime your ISP changes the external IP address, your DDNS provided will automatically update and all you have to do is reaching your DDNS address “nickname”.
Technically speaking, you’re giving your router a static address that’s linked to its dynamic WAN IP address so you can access it from any Internet-connected device such as a smartphone, tablet, or computer.
There are a lot of DDNS providers that offer such services as No-IP, DynDNS, etc. In a few cases, the CCTV manufacturers or resellers offer their own DDNS service. You may need to check with them first.
3. Open the ports (Port Forwarding)
Port forwarding is the procedure of opening certain ports in the router which allows the outgoing and incoming traffic from your security camera system to the phone or tablet. Each surveillance system has a few ports that need to be port forwarded (opened).
First, you need to find out what ports you should open. You can access your NVR directly and look up under the Settings for the “Port” section. There you should see ports such as HTTP, Server, RTSP, ONVIF, etc. It’s possible to modify each port.
If you’re not sure what ports to open, simply contact the manufacturer or reseller and they’ll provide the information. Once you get hold of the ports, you need to access your router via a computer/laptop and navigate to the Port Forwarding section. If you cant find this section, google the router’s model followed by “port forward”.
In the port forwarding section, click “Add New” and add the IP address of the NVR (local IP), the port number (for example 80, which should be the same for “outgoing” and “incoming” traffic, select UDP/TCP as well (sometimes it’s labeled “All”). Once finished, double-check and make sure the ports show open. For more details, consult this article: How to check if the CCTV security camera system Port has been Forwarded and Opened.
4. Assign the DDNS to your NVR
After the ports are opened (forwarded), you need to add the DDNS hostname to your NVR’s settings. Login to your recorder and under the Settings locate the “DDNS” tab.
In this section, you need to enable the DDNS and add the required information such as username, password (for the DDNS provide), the hostname, the created domain, etc. Usually, there’s a “test” button there that should show the message “Successfully”. (if the settings are entered correctly).
5. Add to the phone and verify that the Remote Viewing works
Once all the configurations are done, you should verify whether the remote viewing works. One way is to type the DDNS address on the web browser followed by the http port. If all is good, you should be able to see the login screen of your NVR.
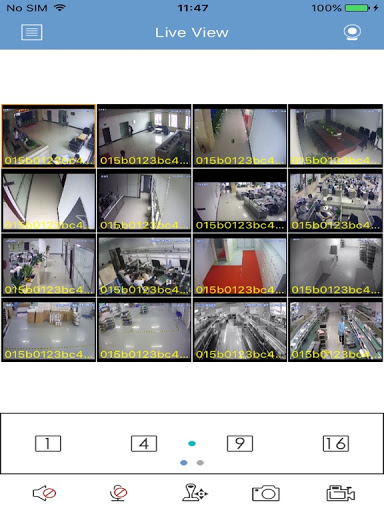
Another way is to try it on the smartphone. First, download and install the app that your security system is supposed to use. If not sure, contact the seller/manufacturer. Open the app and tap “add new device”. There you should add the information such as the DSNS address, the port number for phone viewing, the username and the password of the NVR, etc. Click Live View and you should be able to see all the cameras live.
Conclusion
Setting up the NVR for remote viewing is not as difficult as people say. The crucial part is to locate the correct information for opening the ports and creating a DDNS address. When the settings are done you should be able to see the camera from anywhere in the world. Additionally, you can playback and back up the footage.Lastly, if
you’re stuck with the remote viewing of your NVR, it’s recommended to contact the seller or the manufacturer. They usually provide good support for their customers.
