Content
- Ring Alarm Range Extender – Setup and Use
- Understanding and Setting Up Your Devices in the Ring App
- Where to place Your Ring Alarm devices
- How to Reset your Ring Alarm Devices
- Understanding Z-Wave and Mesh Networks
- Updating your Range Extender (1st generation) Firmware
Ring Alarm Range Extender – Setup and Use
The Ring Alarm Range Extender is designed to extend and expand the Base Station’s Z-Wave network, allowing for greater range and network coverage for all security devices at your location.
Range Extender Features
- RANGE: The Range Extender can be placed up to 250 feet from the Base Station. It will reach Alarm devices up to 250 feet away, in an unobstructed environment. Coverage may vary depending on the layout and construction of your home or business.
- BATTERY BACKUP: In the event of a power outage, the Range Extender has a backup battery that lasts up to 24 hours.
 |
|
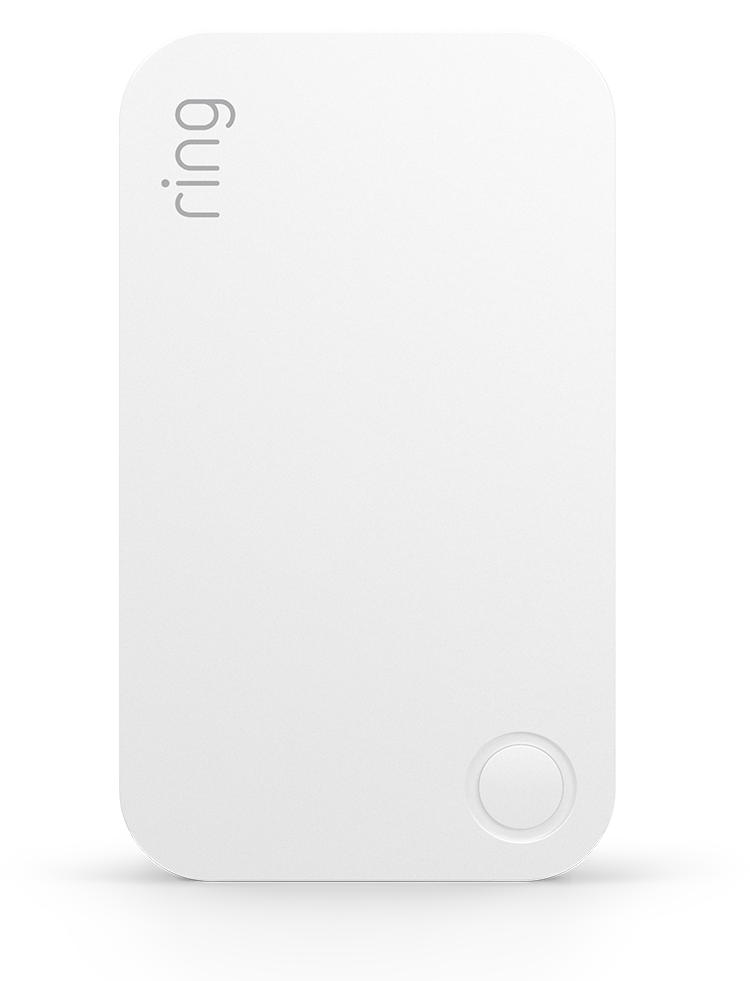
| Range Extender (1st generation) |
Range Extender |
Range Extender Setup
Where should I install my Range Extender?
Choose an outlet between your Base Station and the Ring Alarm security devices farthest from your Base Station. You can move the Range Extender to another outlet as needed to improve signal strength and to expand the range of your Z-Wave network.
How to setup and install a Range Extender:
- Make sure your Ring Alarm is disarmed.
- In the Ring app, tap Menu, then tap Set Up a Device, then tap Security Devices, and tap Range Extender.
- Follow the in-app instructions to complete setup.
- Make sure the Range Extender is plugged into an outlet at all times.
Range Extender Troubleshooting Steps
What if my Range Extender (1st generation) won’t connect?
- Try another outlet to ensure the device is receiving power.
- If power is not the issue, try plugging the device into an outlet closer to the base station.
- Press and release the button on the right hand side of the device.
What if my Range Extender (2nd generation) won’t connect?
- Try another outlet to ensure the device is receiving power.
- If power is not the issue, try plugging the device into an outlet closer to the base station.
- Press and release the button on the front of the device.
— If it blinks 3 times, it’s trying to join your network.
— If it blinks once, it’s already in the network.
— If it blinks red once, it’s unable to communicate with the Base Station.
What if I need to remove my Range Extender (1st gen and 2nd gen)?
- In the Ring app, tap Menu, then tap Devices, then tap Alarm Base Station, then tap the Range Extender you wish to remove.
- Tap the Gear icon on the top right corner, then tap Remove.
- Unplug the Range Extender and then plug it back in.
- Wait a few seconds and if nothing happens then press and release the button on the right hand side.
- The app will let you know the device was removed. Leave the Range Extender unplugged until ready to use again.
How do I factory reset my Range Extender (1st gen and 2nd gen)?
If you’ve tried all of the above steps and you’re still having difficulty with your Range Extender, you can try to factory reset the device. Note: This will remove device settings and reset the device back to the original default settings.
| Range Extender (1st generation) | Range Extender (2nd generation) |
|
|
If you have tried all of these steps and it still doesn’t work, we recommend reaching out to our support team for assistance.
Understanding and Setting Up Your Alarm Devices in the Ring App
Once your Ring Alarm Base Station is set up and your Ring Alarm devices are connected to the Base Station, you can start installing your sensors and detectors. This article will help you understand and set up the various Alarm devices you’ll need to protect your home.
Adding and Removing Alarm Devices from the Ring App
To add an Alarm device:
- Open the menu, then tap Devices.
- Tap Set Up a Device (+).
- Tap Security.
- Choose the type of Alarm device you want to add.
- Under Add Device, choose the specific type of device you want to add.
- Review the additional instructions, then tap Add Device. Your Base Station will start listening for a new nearby Alarm device.
- Follow the remaining instructions to add the Alarm device.
Once you’ve added the Alarm device, you can rename it or change its category.
To remove an Alarm device:
- Open the menu, then tap Devices.
- Select your Alarm or Alarm Pro Base Station under Security.
- Tap the device that you want to remove.
- Tap Device Settings (gear icon) then Remove Device at the bottom of the screen.
- Tap the gear icon to open Settings.
- Follow the instructions, then tap Remove Device.
- The Base Station will attempt to remove the Alarm device from your system.
If there any issues removing an Alarm device, you should check the device manufacturer’s instructions to see if there’s anything else you need to do.
Troubleshooting Devices
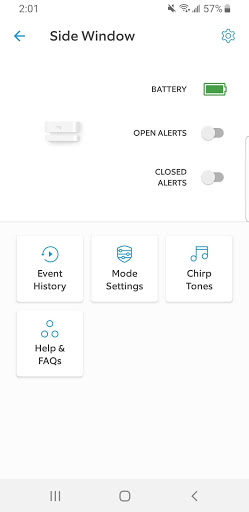
If you need to know the status of a particular Alarm device, the device details page in your Ring app contains the current state, controls, history, and (if applicable) the battery level of a particular Alarm device. For purposes of this article, the most important information you can find on this page is the current state of the device along with its battery level:
- Device State: The current state of the Alarm device is shown in the bar at the top of the page and the icon at the top left corner of the device icon or image.
- Cleared: A Cleared icon is blue. When an Alarm device is “cleared” it means that the device is working fine and is in its default state. For motion detectors, they’re not detecting any motion. For contact sensors, they’re currently shut and lined up properly.

-
- Faulted: A Faulted icon is red. This means that an Alarm device has been tripped. A door or window has been opened and triggered a sensor or a motion detector has detected motion. If the system is armed and the Alarm device is being monitored, this will trigger the alarm.
-
- Tampered: A Tampered icon is orange. This varies by Alarm device, but usually indicates that the cover is off or that someone has been tinkering with the device.
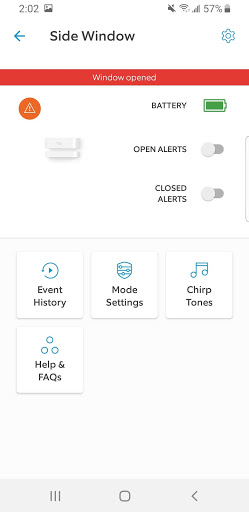
- Battery Level: If an Alarm device reports battery levels, the battery status will be shown in the top right.
- Green = full (100–76%)
- Green = ok (75–26%)
- Yellow = low (11–25%)
- Red = warn (1–10%)
- Red, line through it = failed (0%)


Understanding and Installing your Motion Sensors
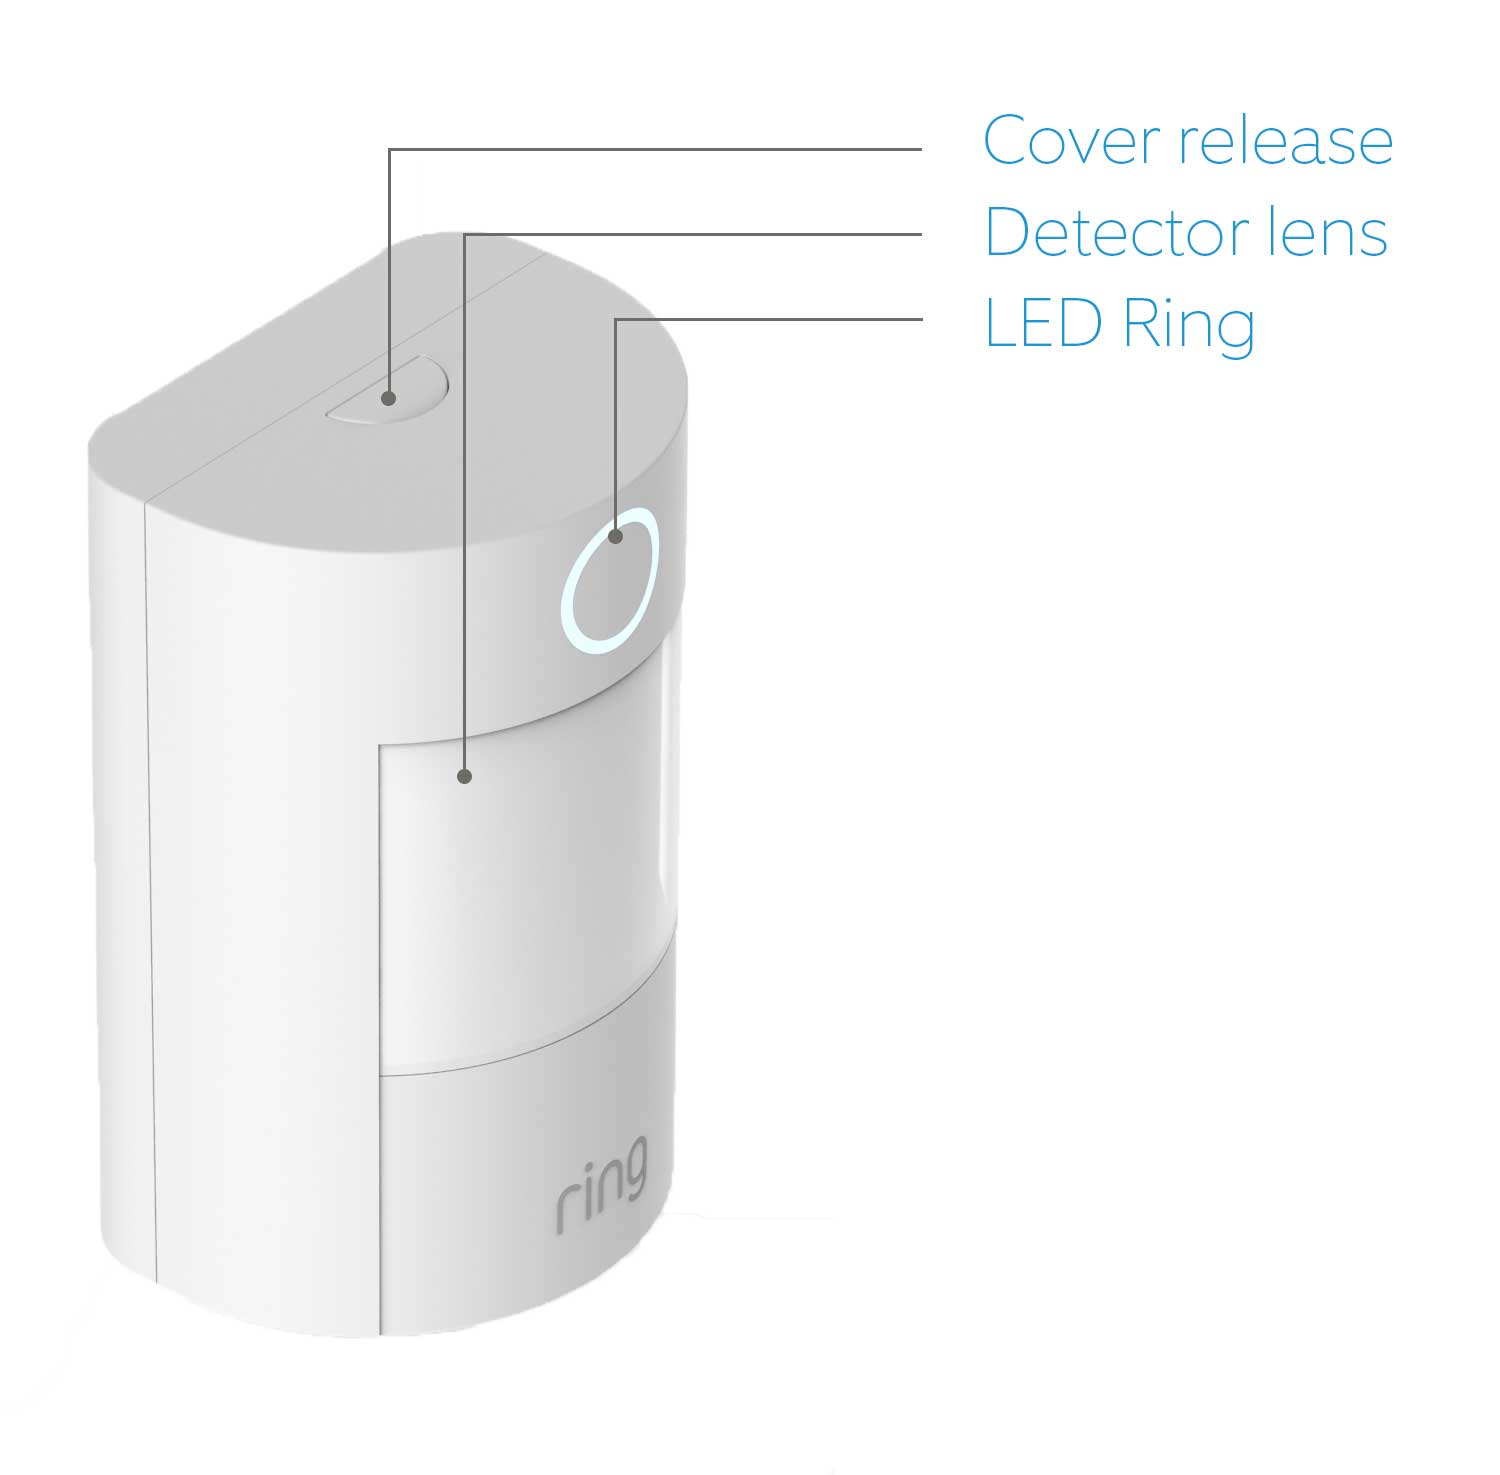
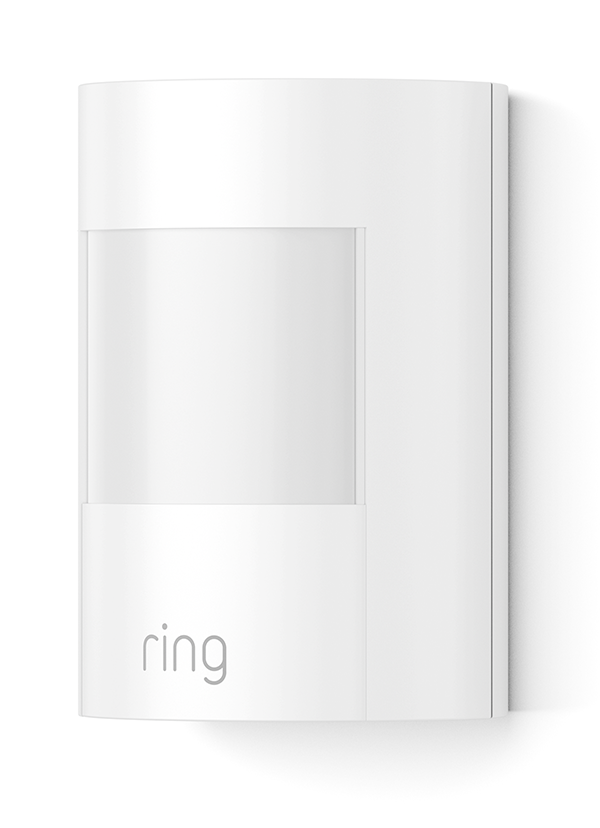
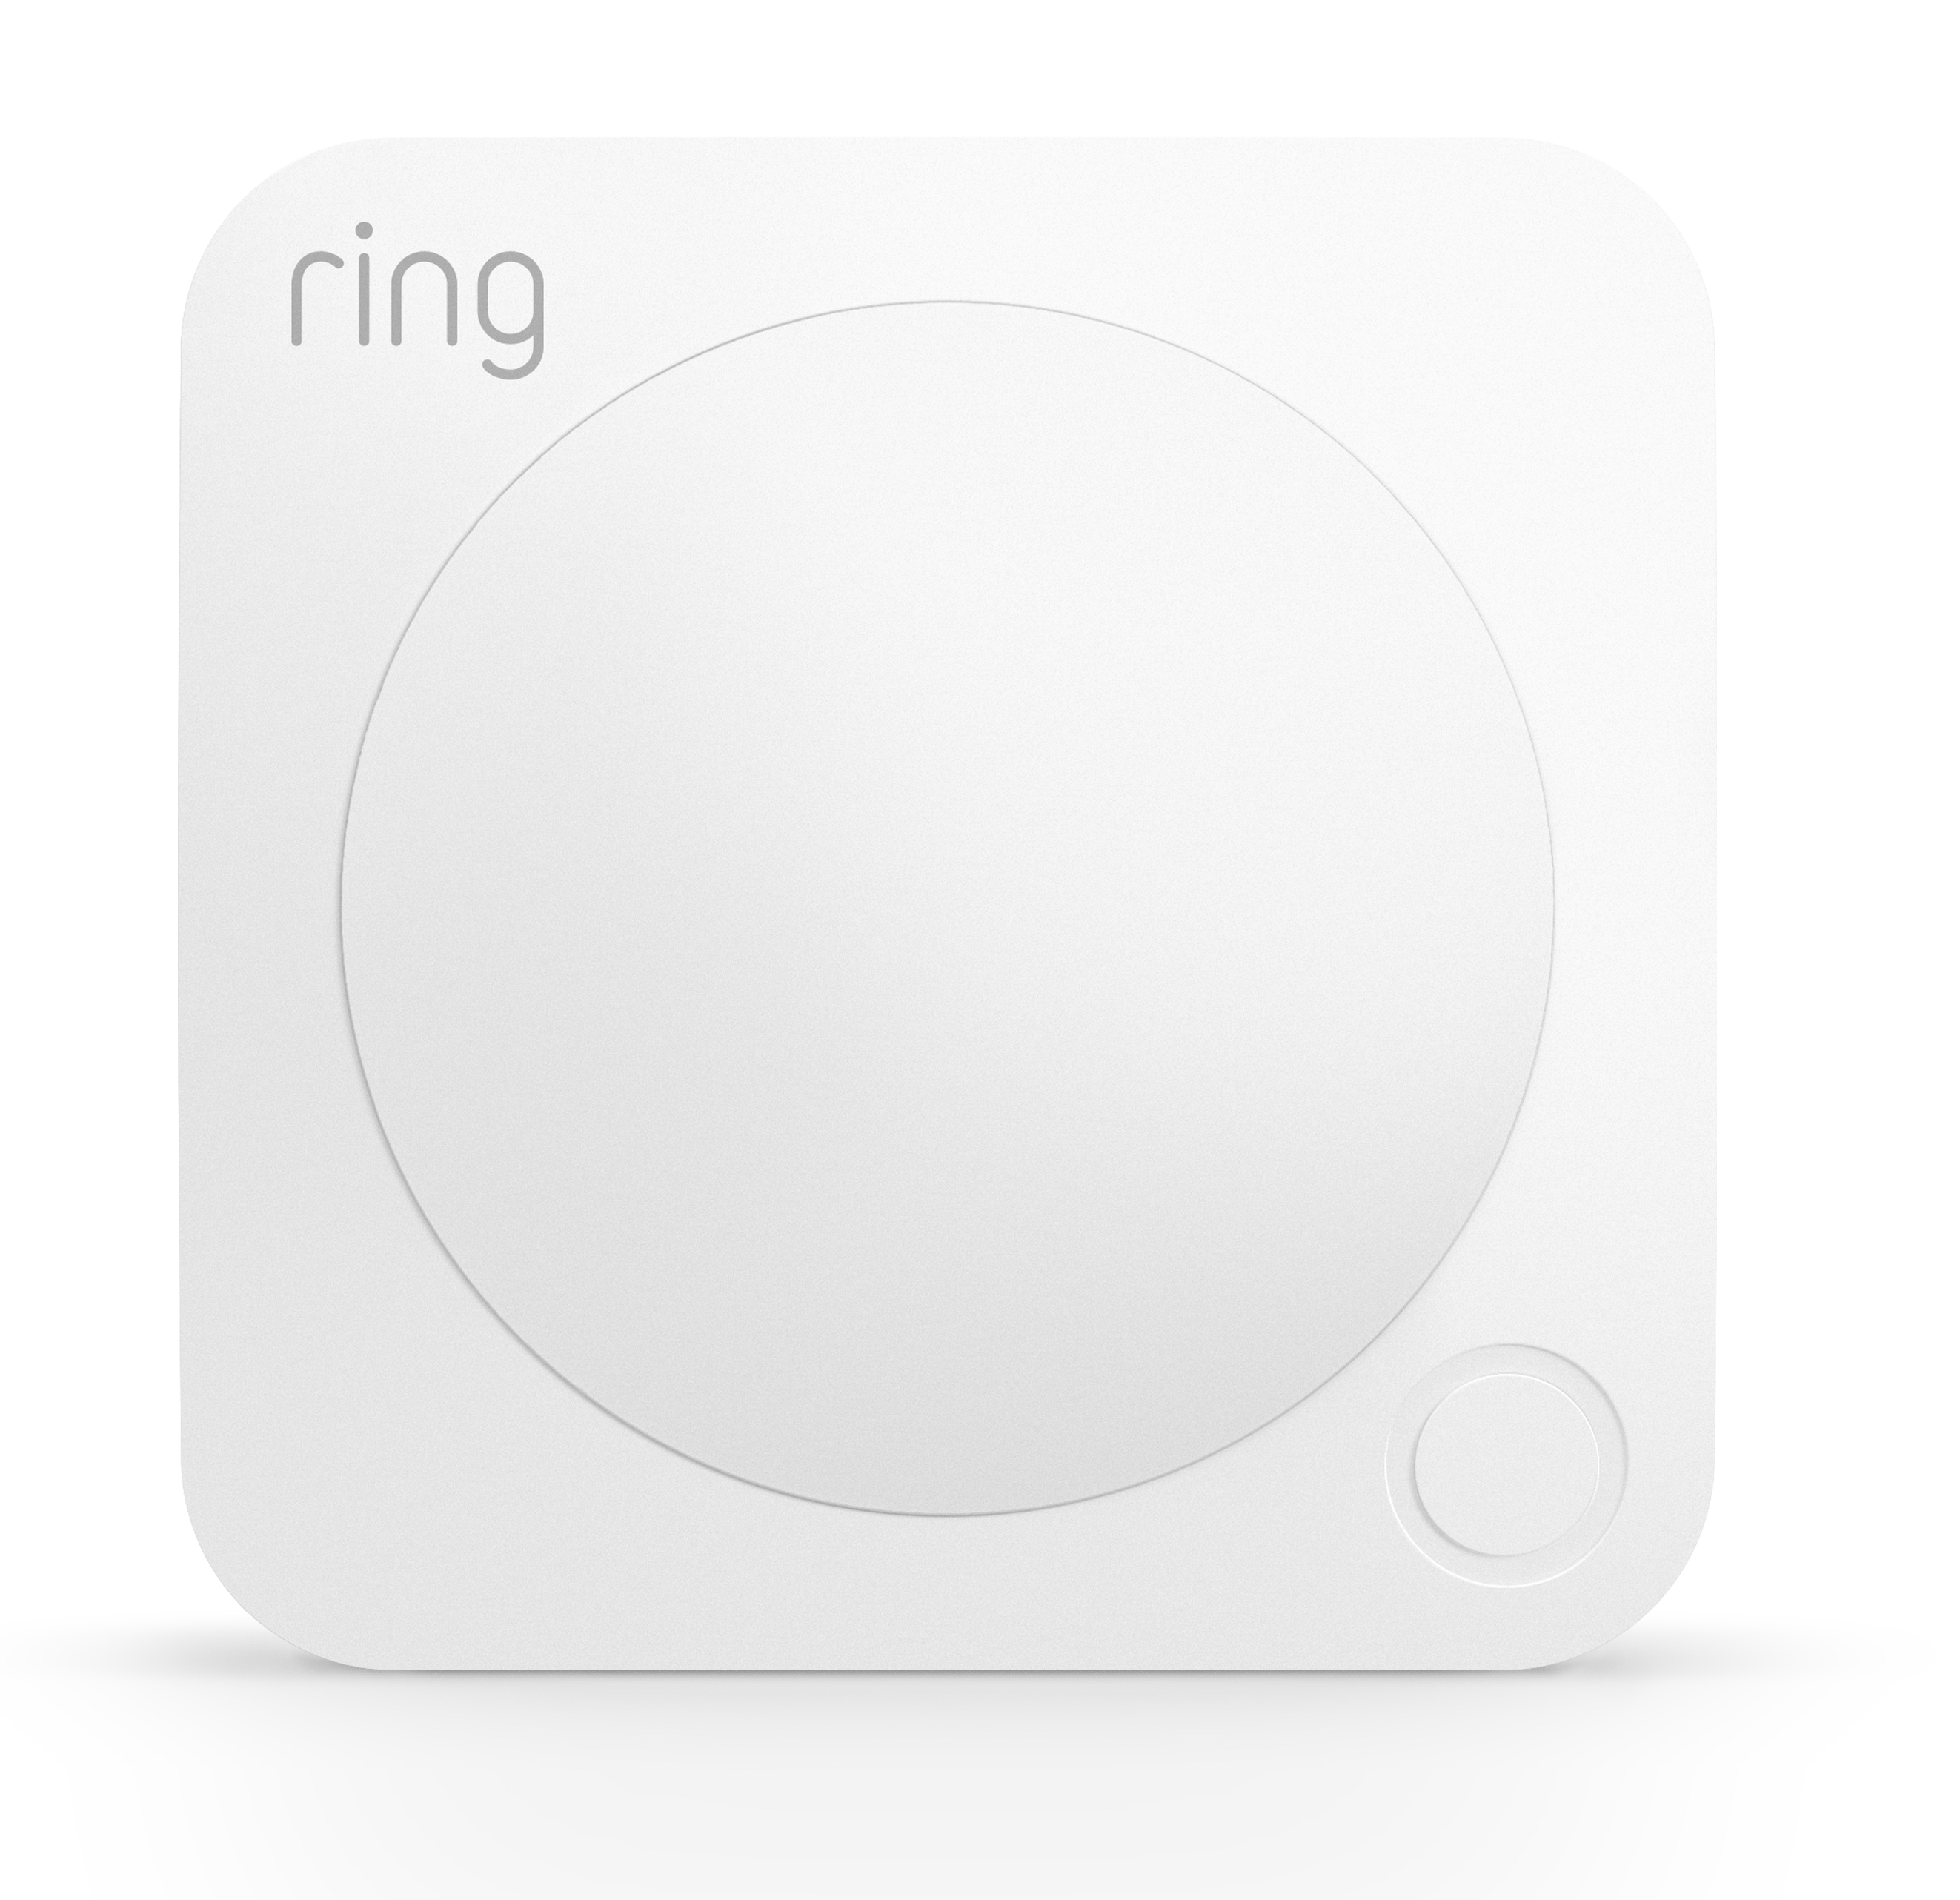
What does a Motion Sensor look like?
What does it monitor?
The Ring Motion Detector watches for motion in an area. It can observe motion in a 90º radius.
How does it track this?
If something walks in front of the motion detectors lens, it will become faulted. When no motion is detected for four minutes, the sensor returns to normal.
Where should I install it?
You should install the Ring Motion Detector on a wall or in a corner about seven feet high. This will keep it out of the way of kids, pets, and other things that might dislodge it.
How do I install it?
You can install the detector using either the adhesive tape or the mounting bracket included in your kit. To mount the detector using the adhesive:
- Clean the area where you’ll install the sensor.
- Peel off the adhesive and fix it to the sensor. Use the full strip if you’re planning to mount it on a wall and the two thin strips if you’re planning to mount it in the corner.
- Place the sensor on a wall or in a corner.
To install the sensor using the bracket:
- Clean the area where you’ll install the sensor.
- Hold the mounting bracket for the sensor on the wall or in the corner and screw it in with the included screws.
- Place the sensor on the bracket. It should snap into place.
How does it get tampered?
If you remove the cover of the sensor, it will report that it’s tampered.
How long do the batteries last?
The CR123 battery should last up to three years.
Understanding and Installing your Contact Sensors
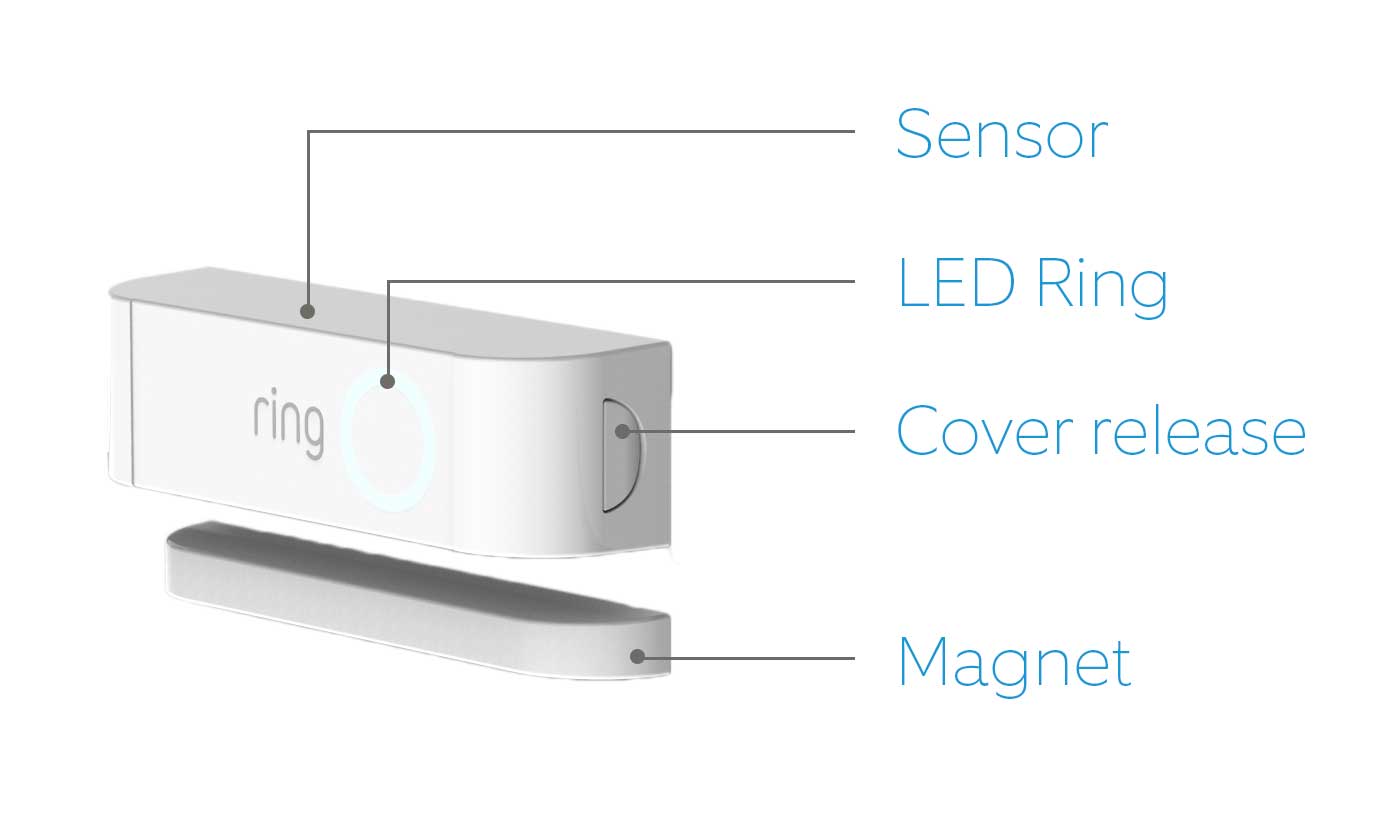
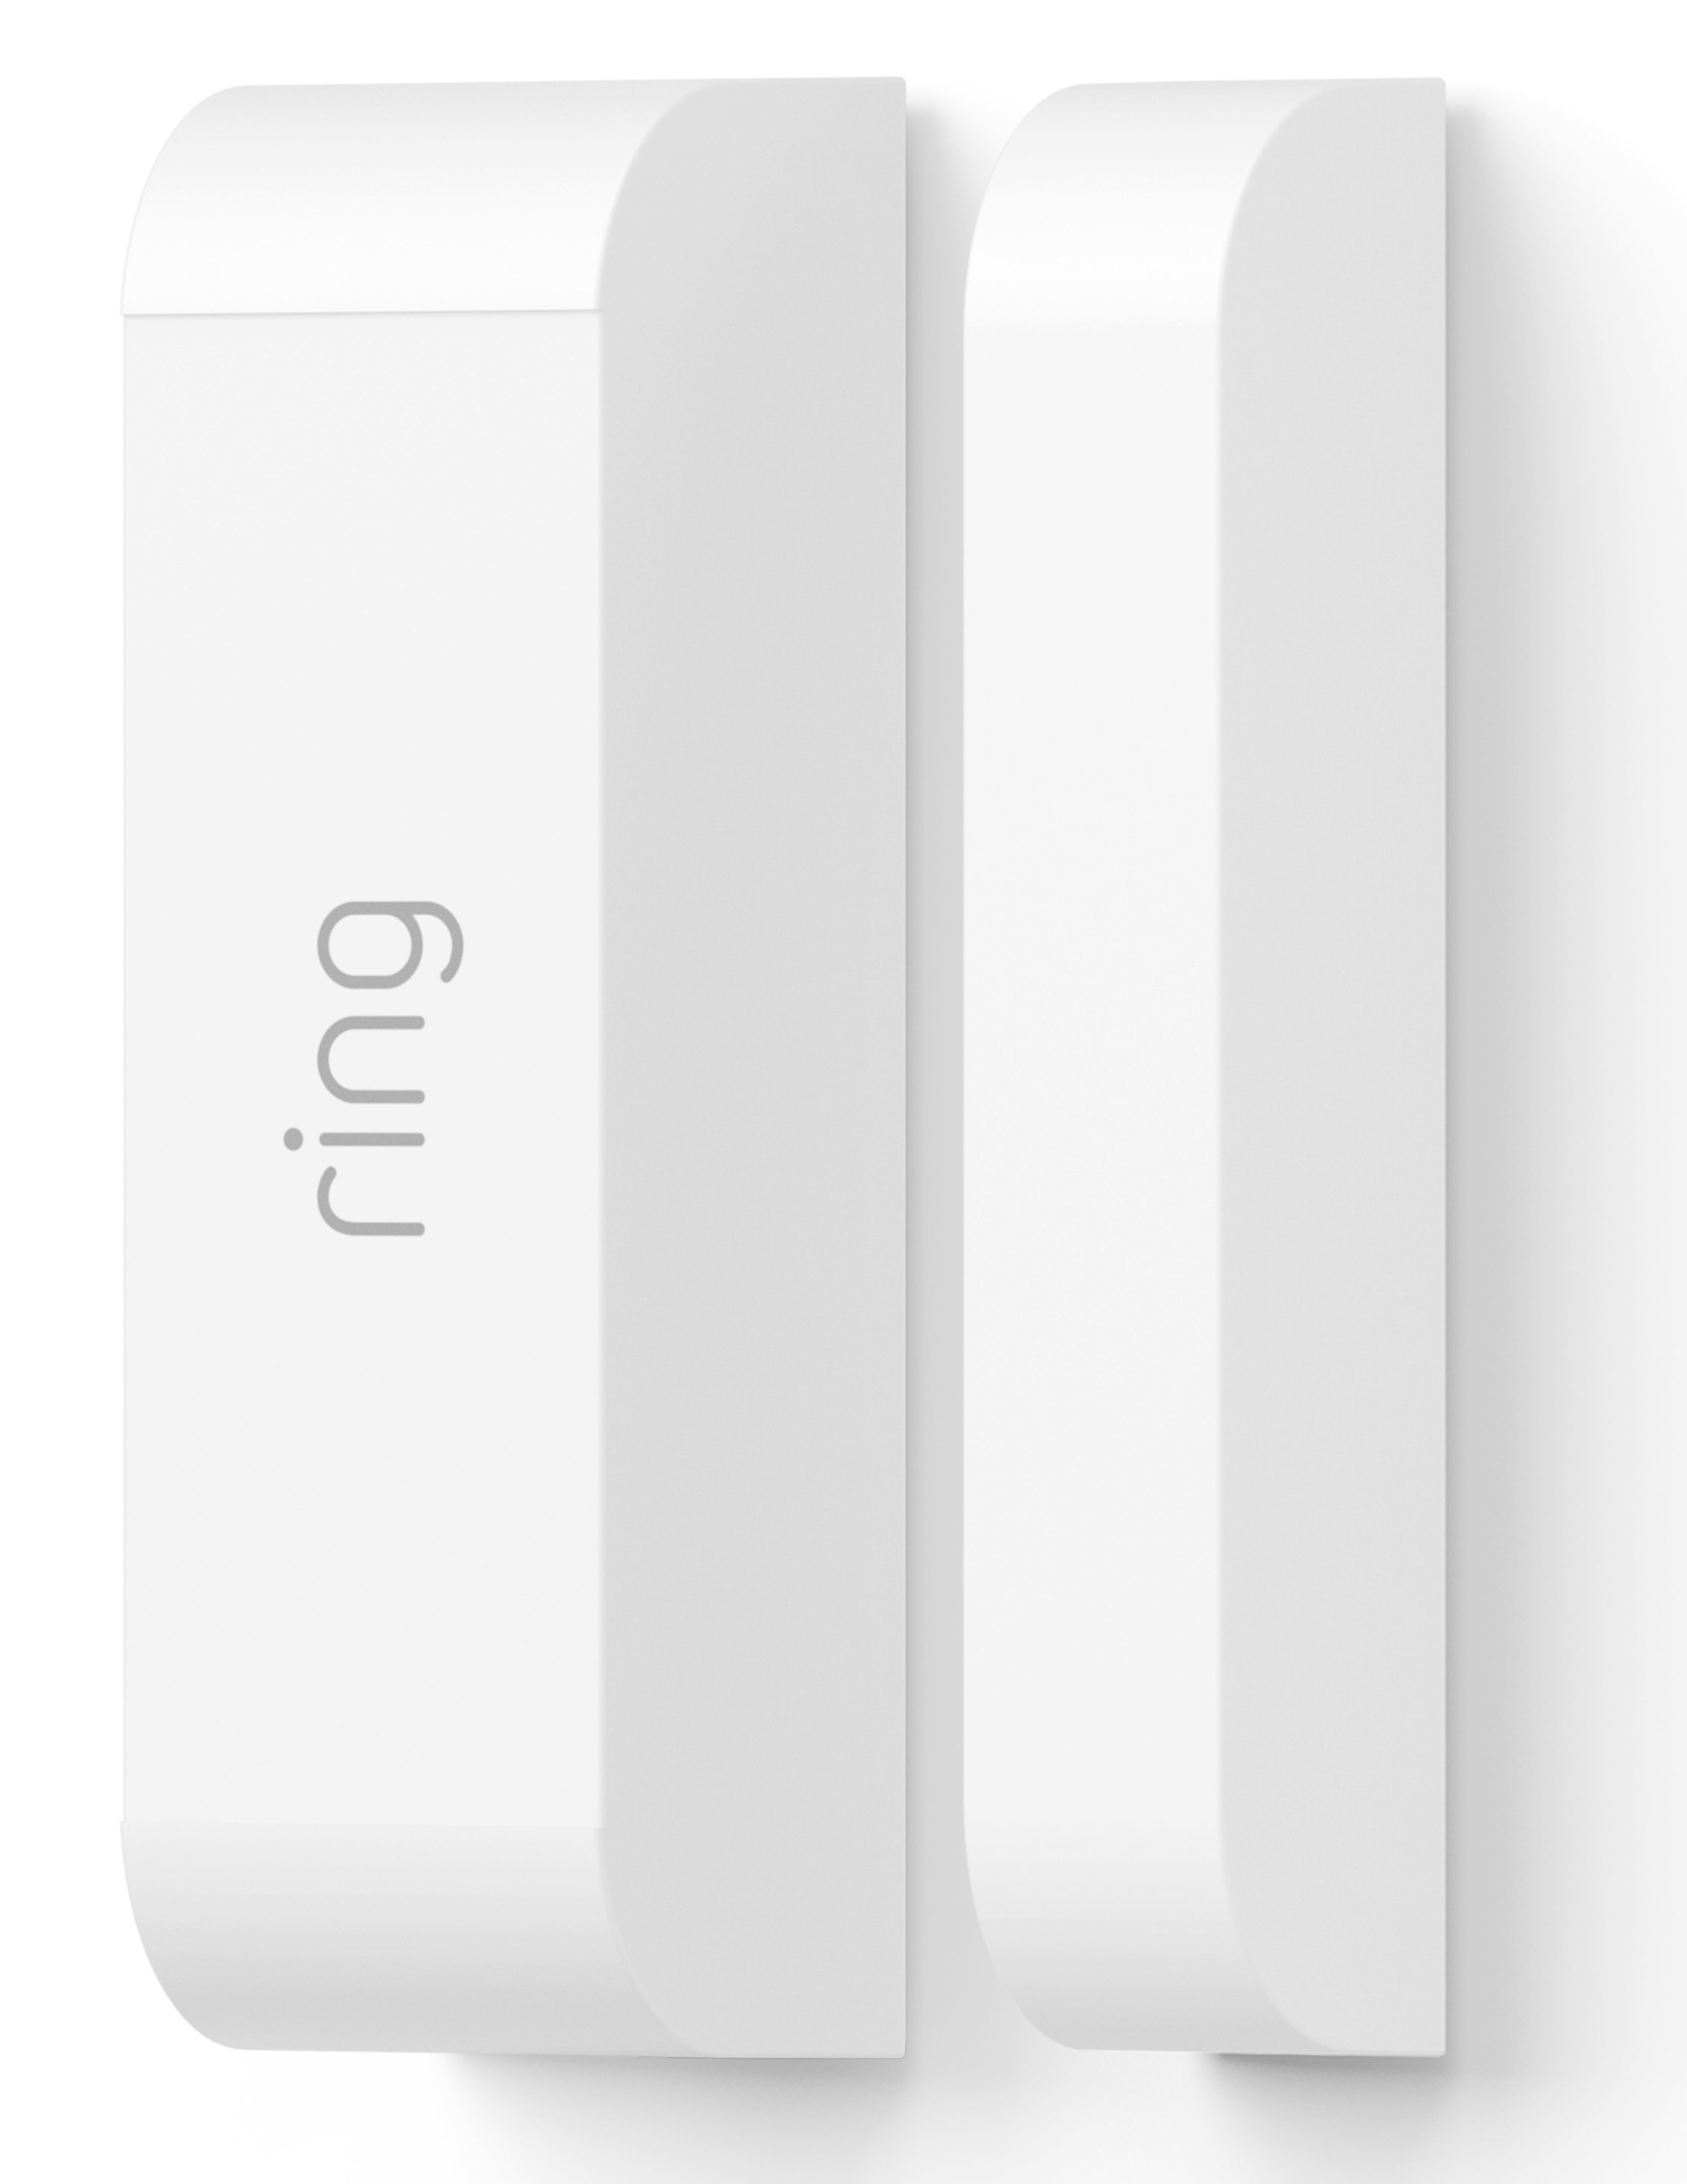
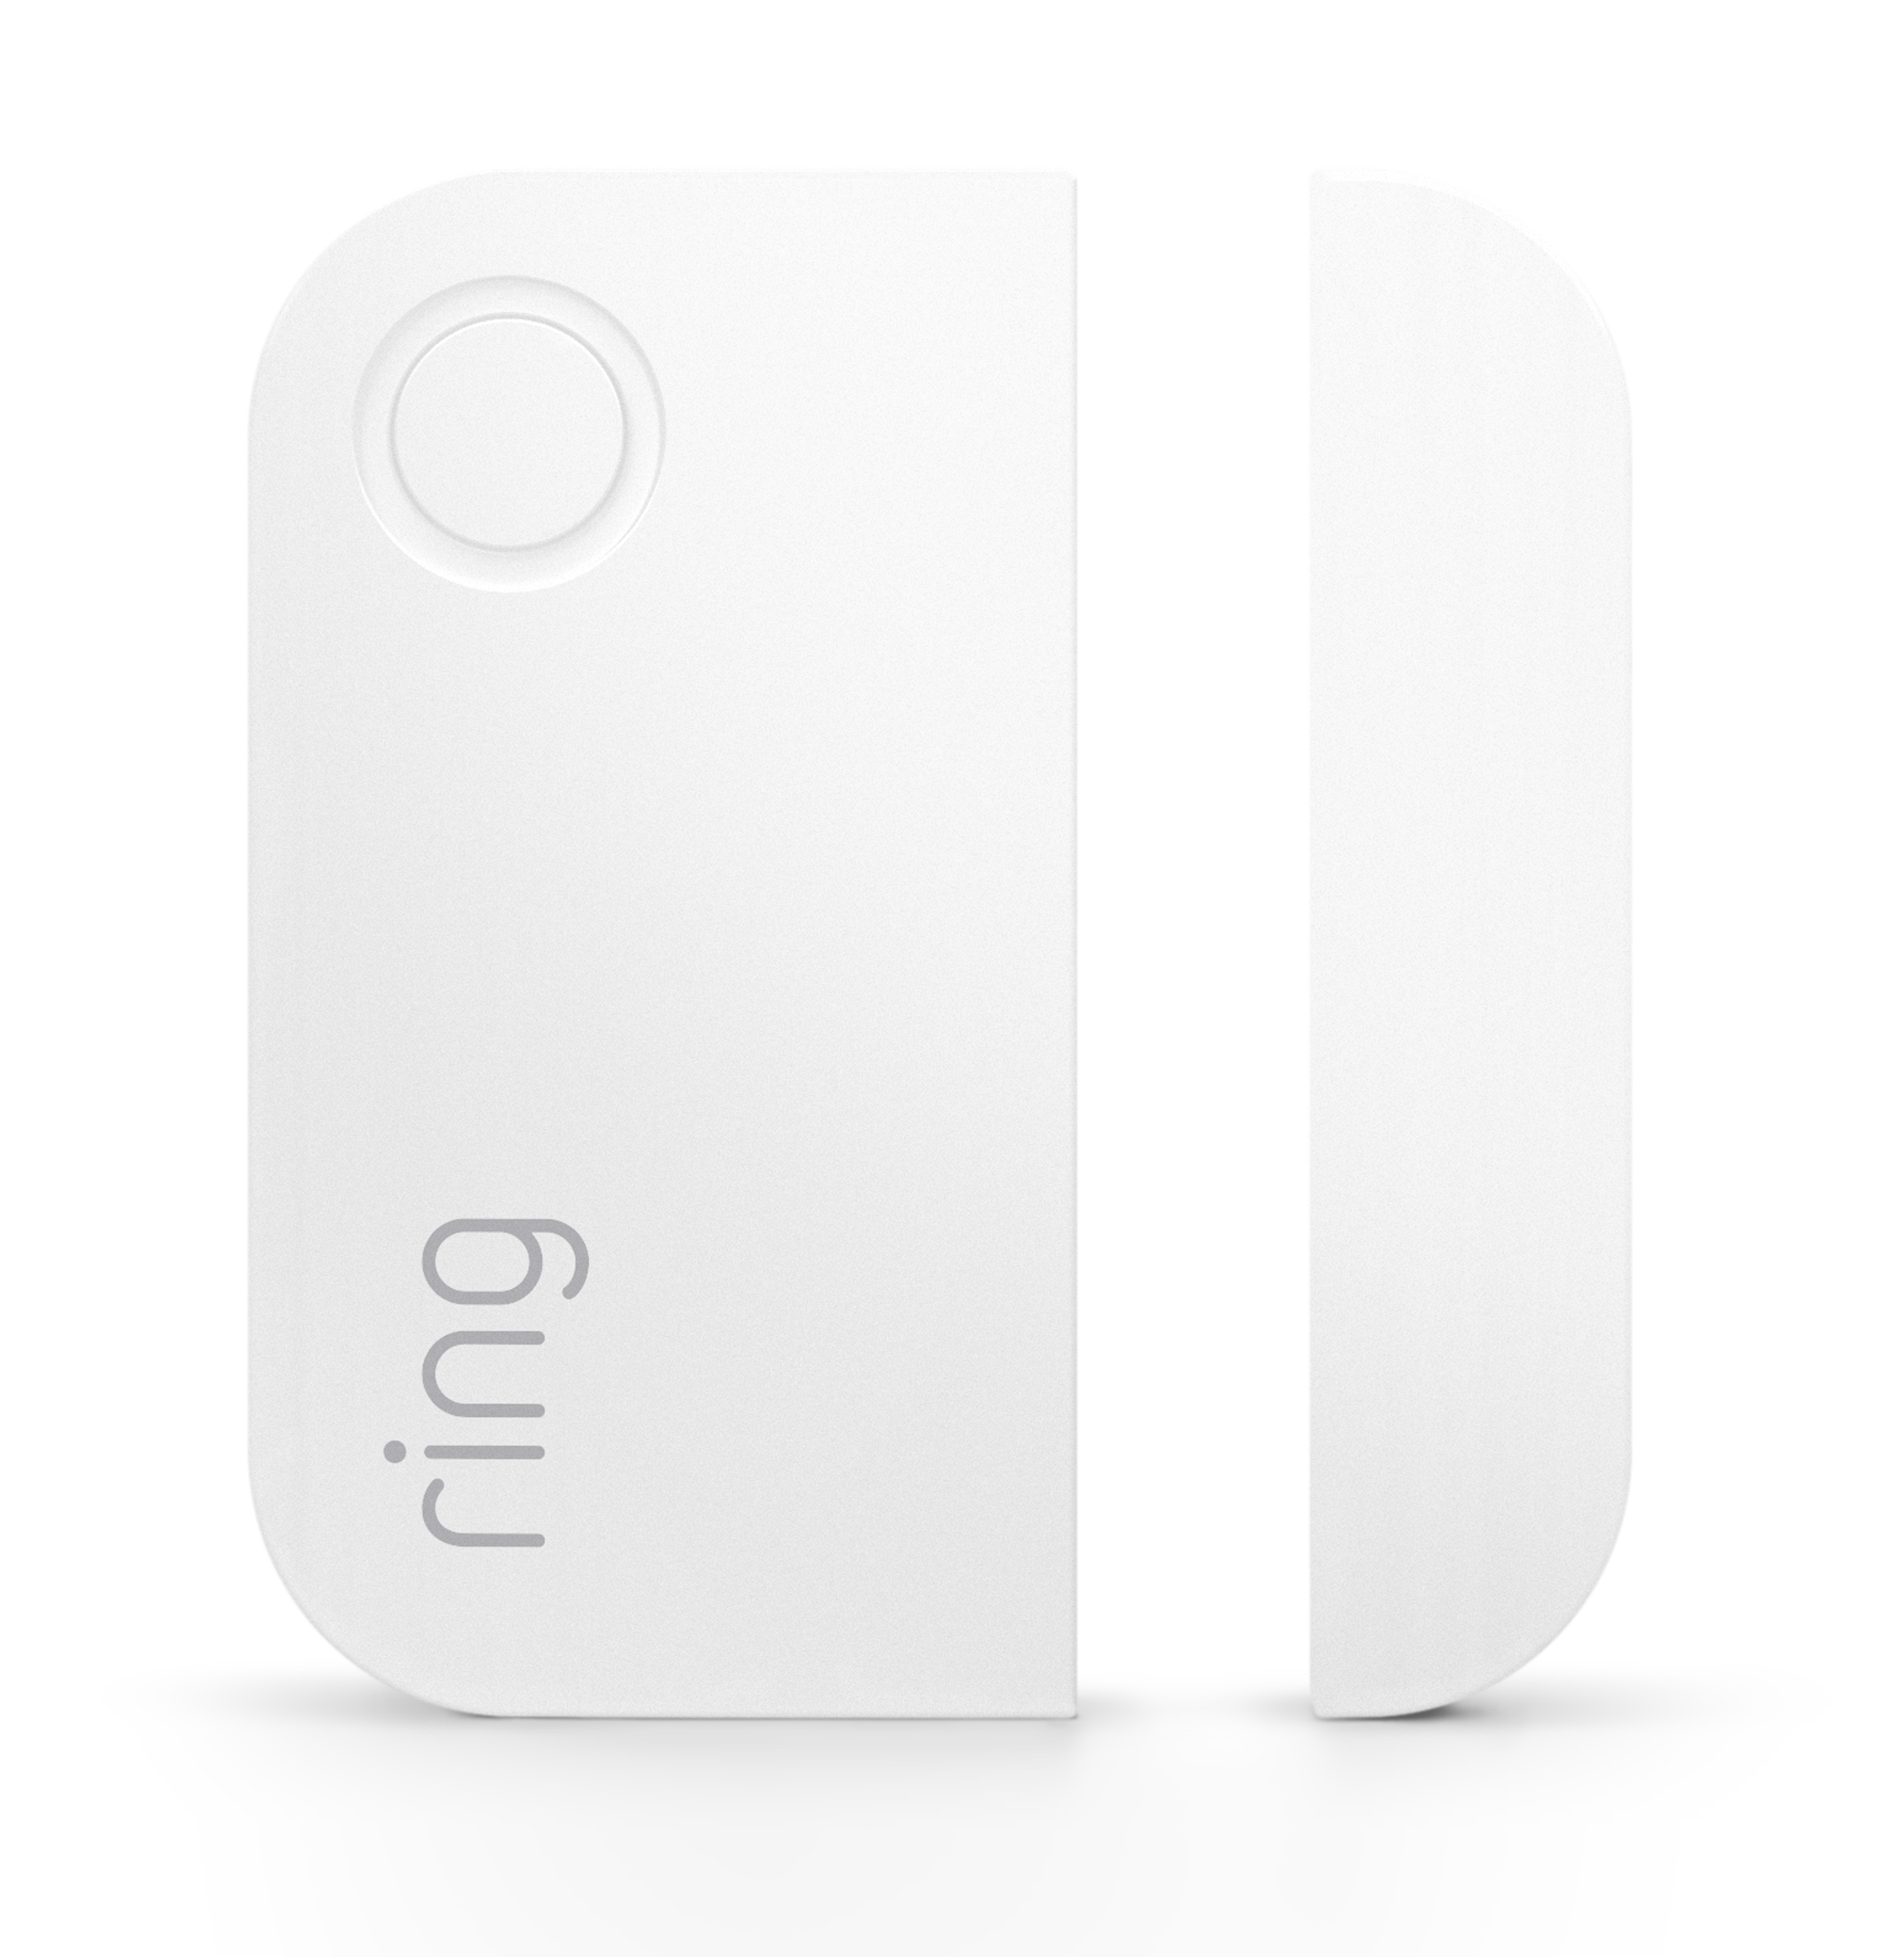
What does a Contact Sensor look like?
What does it monitor?
The Ring Contact Sensor monitors whether a door or window is open or closed.
How does it track this?
Both the sensor and the magnet have lines on them. If these two lines are not aligned, the sensor will be faulted. If the lines are together, the sensor is normal.
Where should I install it?
Getting Started – Placing Sensors and Motion Detectors
Ring Alarm “devices” are the things you’ll use to set up your Ring of Security around your home. They come in four different types:
- Contact Sensor: Contact sensors are two-part devices connected by a strong magnetic field. They are placed on doors or windows. When the alarm system is armed, they will trigger an alarm as soon as their magnetic contact is broken by the door or window opening.
- Motion Detector: A motion detector is a device that uses Passive Infrared scanning (PIR) to detect unauthorized motion to set off the alarm.
- Keypad: Your keypad is used to arm and disarm the system and place it into various “security modes.”
- Range Extender: As its name would imply, the range extender is used to extend the range of the Z-Wave network that the Ring Alarm Base Station uses to communicate with its connected devices.
Setting up your devices is easy, and the Ring app will walk you through the steps.
Placing Contact Sensors
Tap below for more information about your:
Contact Sensor (1st generation)
Contact Sensor (2nd generation)
When you’re placing your sensors, you need to think like a burglar. What are the easiest places to get in the house?
- Front Door: It seems like a no-brainer. Surely everyone plans to put a sensor on their front door, right? Well, it’s even more important than you think. Lots of break-ins occur through the front door. That makes the front door and the area just behind it the most important areas of your house to secure with Ring Alarm.
- Side and Rear Doors: While not as common an entry point as the front door, side and rear doors have the virtue (for the burglar) of providing cover as they attempt to break into your home. In addition, rear doors often have less secure locks, making them more vulnerable to break-ins.
- First Floor Windows: First-floor windows are the second most common points of entry for burglars and they jump to number one during the hot summer months. It’s a lot easier to forget you’ve left a window open than it is to leave a door open. That simply invites a burglar inside. Make sure your lower floor windows are closed and locked and armed with Ring Alarm.
- Second Floor Windows: The good news about upper floor windows is that they’re rarely used by burglars as a point of entry simply because someone entering a home via a second-story window is the kind of suspicious activity that most neighbors will call the police about. That being said, don’t make it easy for burglars by keeping these windows closed, locked, and armed as well, especially if a window is hidden from the street by something like a tall tree.
Placing Motion Detectors
Tap below for more information about your:
Motion Detector (1st generation)
Motion Detector (2nd generation)
The placement of Motion Detectors is as important as the placement of your Contact Sensors. A good rule-of-thumb is to walk through your home and place motion detectors in high-traffic areas. These are the areas where a potential burglar would most likely walk through on his way to steal your valuables. What follows are some more Do’s and Don’ts concerning Motion Detector placement.
- Do place your Motion Sensor in a corner: From this position the sensor can cover the entire room, it’s more likely to notice the side-to-side motion that it’s better at detecting, and it’s less likely to itself be noticed.
- Don’t place a motion sensor where it can be caught by direct sunlight: That means you’ll need to avoid placing the sensor in a position where sunlight from windows might confuse the sensor. Such a placement also means an intruder would walk directly toward the sensor, which the sensor is not as good at detecting.
- Do cover the Master bedroom: This tends to be the first target of burglars who are looking for jewelry, money, or other valuables.
- Don’t place the motion sensor near heat sources: Hot air vents, kerosene heaters, radiators or other portable heat sources can suddenly change the temperature of a room, setting off the alarm.
- Do protect your valuables: If you have larger valuable goods like TVs or other large consumer electronics, consider placing a motion sensor behind them. When they’re moved by burglars, the motion sensor will detect this and set off the alarm.
- Don’t forget the second floor: Most burglars enter houses through the front door or other places on the first floor. Despite that, never underestimate the burglar who tries to avoid the first-floor alarm by coming in through an upper-floor window. Alarm the second floor.
- Do cover your basement: A burglar will try any way they can find to enter your home, so don’t neglect your basement. A good placement in a basement is covering the staircase up to the main floor. Be sure to place the motion sensor properly so it covers the entire staircase.
- Don’t skimp on the motion sensors: There’s nothing more valuable than the security of your home, so try and cover as much of it as possible with motion sensors. The fewer holes you leave for a thief to slip through, the more secure your home will be.
Placing Your Keypad
Tap below for more information about your:
Keypad (1st generation)
Keypad (2nd generation)
Your Ring Alarm keypad is one of the most important components of your Ring Alarm system. It represents one of the primary interactivity points of the system and the best way to arm and disarm the system quickly and send a distress call if needed. As such, its placement requires some thought. In fact, there are two schools of thought regarding the placement of the keypad. Which one you choose is up to you.
- Most used entry/exit point: Most people subscribe to the theory that the keypad should be placed near the most used entry/exit point in the house. Whether this is the front door or the door between the garage and the house or some other location, placing the Keypad here allows quick access for arming and disarming when entering/leaving the house and provides equal access to the system for everyone in the house.
- Master Bedroom: While this placement is not used as often, having access to the alarm controls via the Ring app makes this a much more viable option since you can activate and deactivate the alarm from outside the house through the app. The rationale for placing the keypad in the master bedroom is to provide quick access to the keypad in case of a false alarm (in which case the system can be turned off quickly) or a real emergency in which case a panic call can be sent out with minimal delay.
Placing Your Range Extender
Click here for more information about your Range Extender (1st generation) and (2nd generation).
Your Base Station communicates with your sensors and other devices using a technology called Z-Wave. Placing your Range Extender is therefore dependent on where you place your Base Station. Ideally, your Base Station should be as close as possible to the center point of all your devices. If this is not possible though, try and place your Range Extender halfway between your Base Station and the location of the device that’s the farthest from the Base Station.
You should install the Ring Contact Sensor on a door or window. Install it in a place where it won’t be bumped or dislodged.
How do I install it?
You can install the Contact Sensor using either the adhesive tape or the mounting bracket included in your kit. To mount the sensor using the adhesive:
- Clean the area where you’ll install the sensor and magnet.
- Peel off the adhesive and fix it to the sensor.
- Place the sensor on the door or window.
- Repeat steps 2 and 3 for the magnet. The sensor and magnet should be aligned and no more than 1/2″ apart.
To install the sensor using the screws:
- Clean the area where you’ll install the sensor and magnet.
- Hold the mounting bracket for the sensor on the door and screw it in with the included screws.
- Place the sensor on the bracket. It should snap into place.
- Repeat steps 2 and 3 for the magnet. The sensor and magnet should be aligned and no more than 1/2″ apart.
How does it get tampered?
If you remove the cover of the sensor, it will report that it’s tampered.
How long do the batteries last?
The CR123A battery should last up to three years.
Understanding and Installing your Range Extender
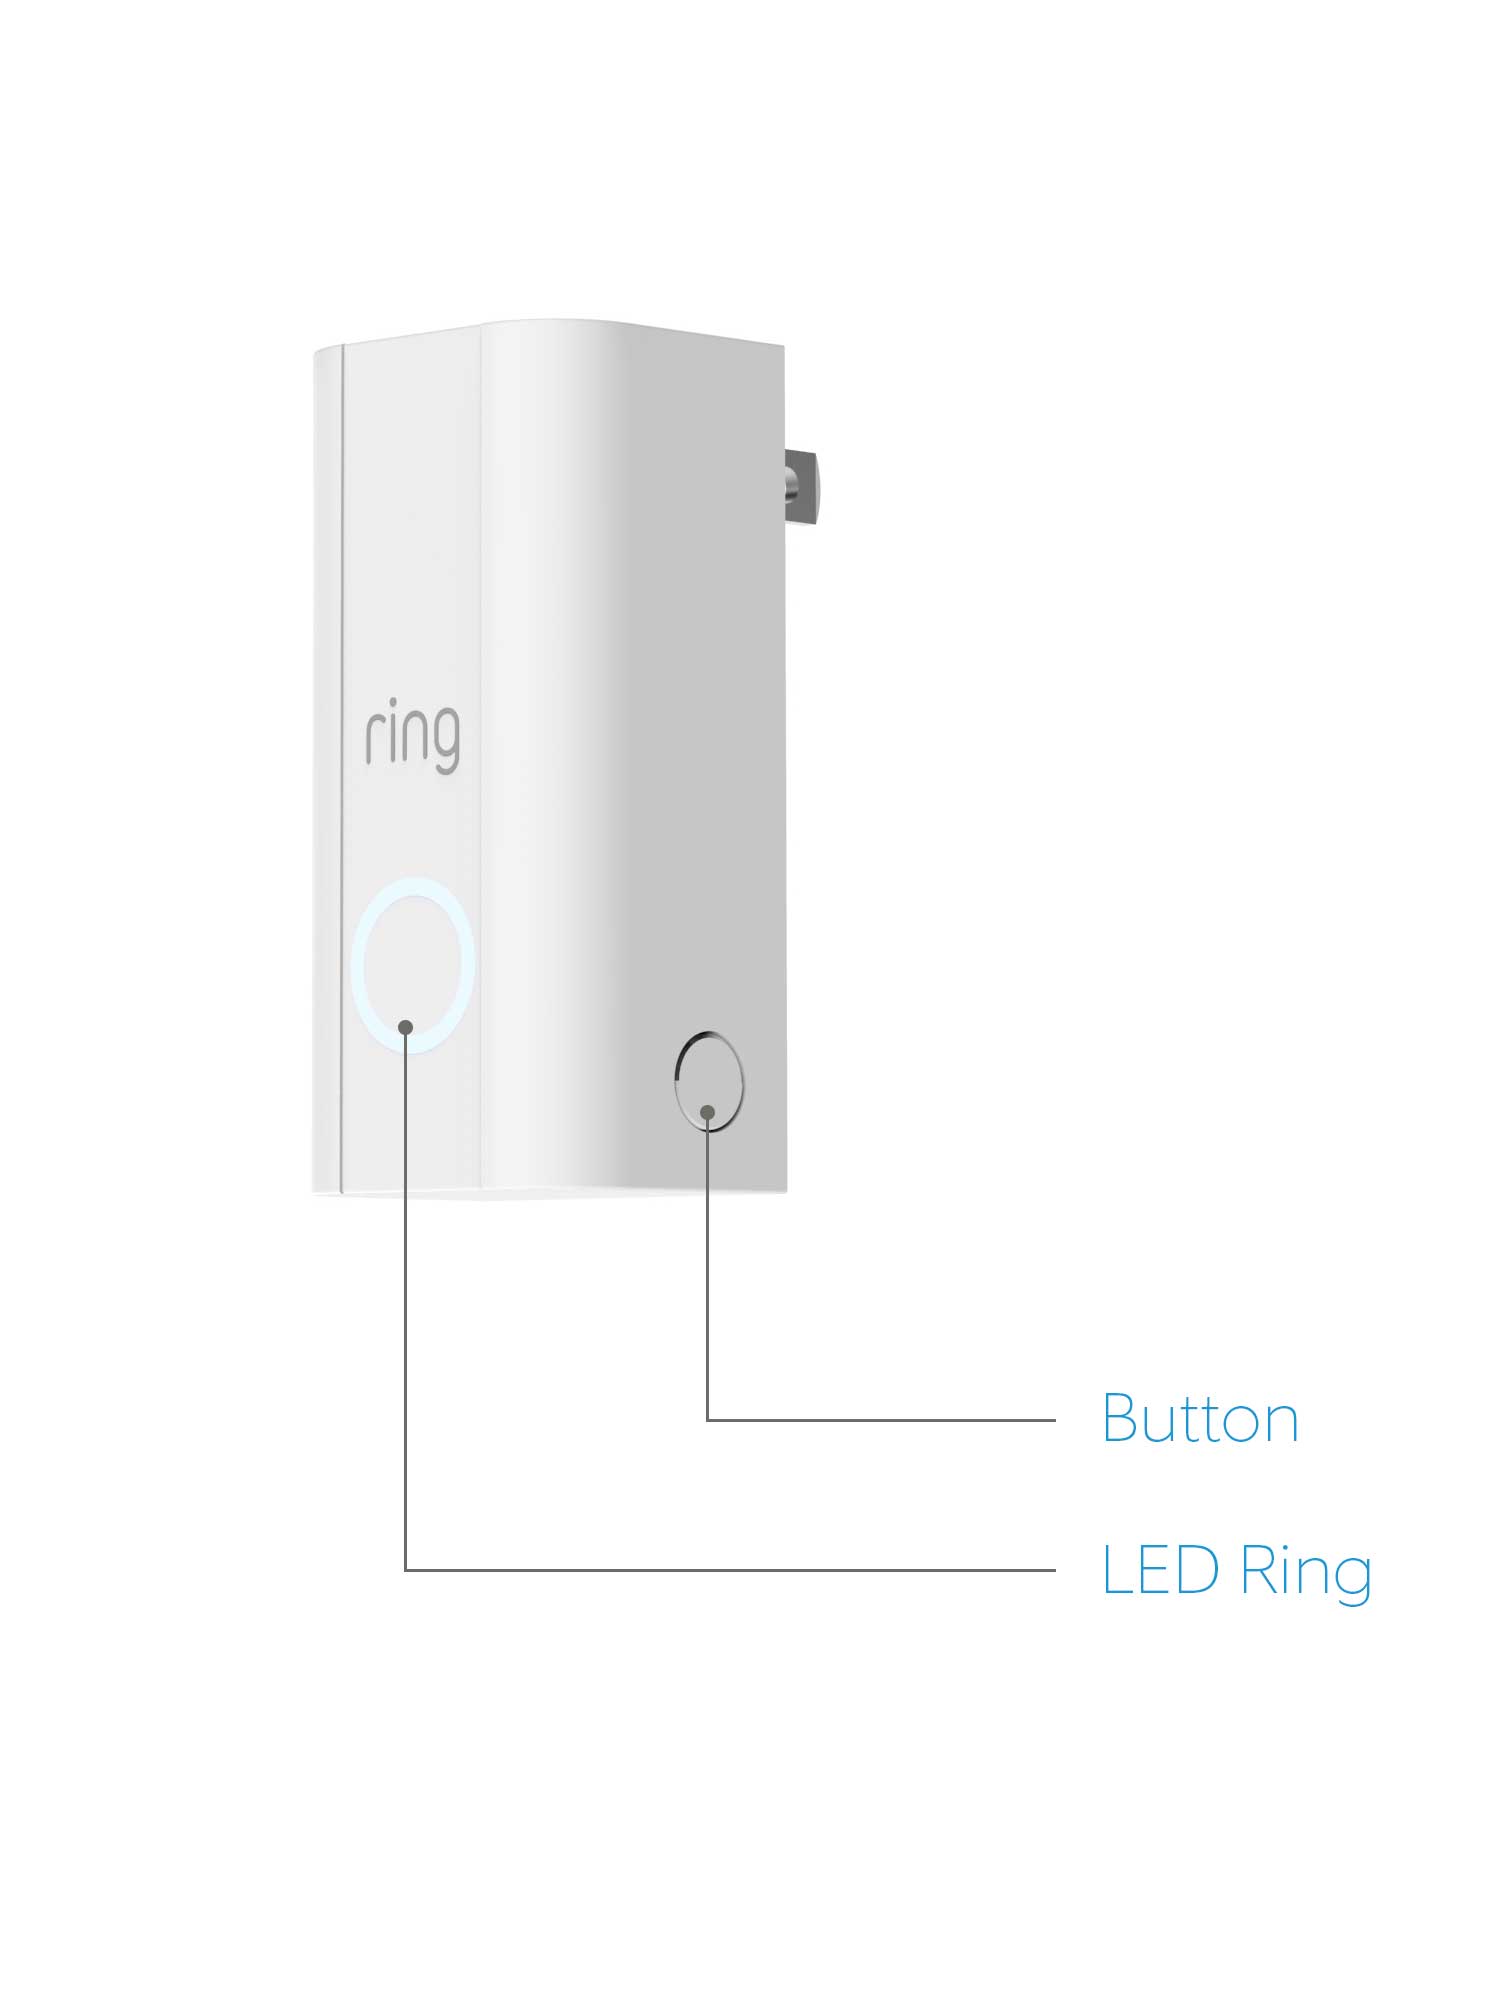
What does the Range Extender look like?
Read Next : Configure Network Cameras for Cloud Recording, Remote Monitoring and Playback
What does it do?
The Ring Range Extender boosts the Z-Wave signal, allowing your Base Station to communicate with Alarm devices that would normally be outside its range.
Where should I install it?
You should plug the Range Extender into an outlet between the Base Station and the farthest device.
How do I install it?
Plug the range extender into an outlet.
How to Factory Reset Your Ring Alarm Devices
If you ever get stuck while troubleshooting your Ring Alarm devices and need to factory reset any of them (as a last resort), you can use the instructions below:
Contact Sensor (1st generation)
Contact Sensor (2nd generation)
Motion Detector (1st generation)
Motion Detector (2nd generation)
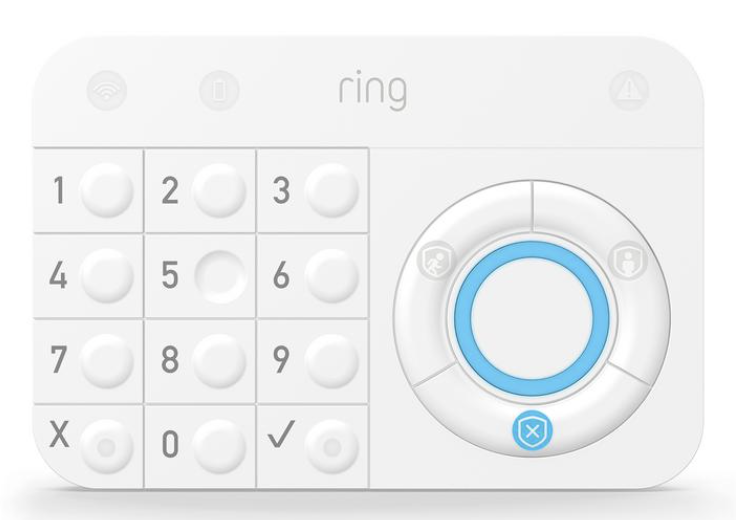
Keypad (1st generation)
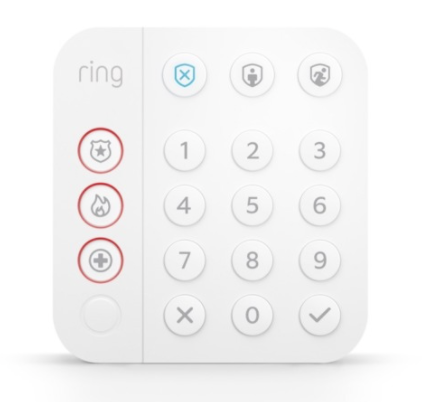
Keypad (2nd generation)
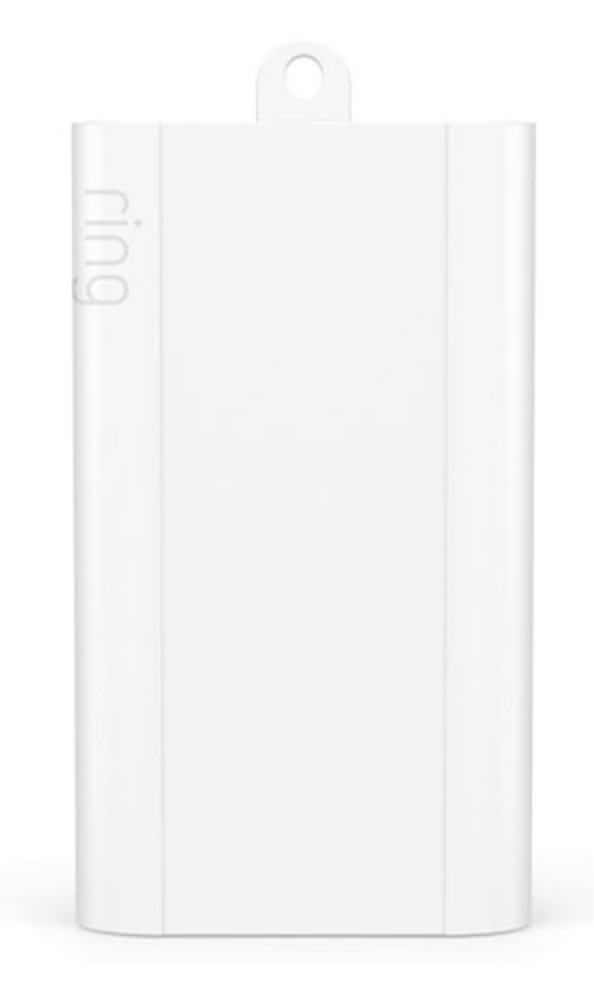
Range Extender (1st generation) and (2nd generation)

Factory Reset your Base Station:
Do not attempt to factory reset your Ring Alarm Base Station without guidance and support from a trained Ring Customer Support expert. Please contact Customer Support for assistance if you’re having difficulty with your Ring Alarm.
Factory Reset your First Alert Smoke & CO Detector
If the device is powered up with the test button held down for 10+ seconds, the device will reset all Z-Wave settings and leave the network. NOTE: The device will not remain awake after resetting and will go into standby mode.
Factory Reset your Flood & Freeze Sensor
Press and hold the setup button (located inside the device) with the battery in, until the LED stops flashing (approximately 10 seconds).
Factory Reset your Panic Button
Press and hold the setup button (located on the side of the device) with the battery in, until the LED stops flashing (approximately 10 seconds)
Factory Reset your Dome Siren
Press and hold the Connect Button (located on the side of the device) for 10 seconds until the LED Ring blinks once, then release the button.
Factory Reset your Smoke & CO Listener*
Press and hold the Setup button for about 10 seconds. When the LED stops blinking, your Listener* has reset.
* Smoke and carbon monoxide monitoring is not available for commercial properties. See Ring Alarm licenses at: https://www.ring.com/licenses.
Understanding Z-Wave and Mesh Networks
When setting up your Ring Alarm or Ring Alarm Pro system, it’s important to understand how your devices communicate with one another so that your Alarm components can use the strongest signal possible. This article will help you understand how your Alarm devices communicate.
What is Z-Wave?
Z-Wave is a wireless communication protocol that your Ring Alarm devices use to speak to the Ring Alarm or Ring Alarm Pro Base Station.
What frequencies does Z-Wave use in the United States and is it different from wifi?
Yes, Z-Wave uses 908.4Mhz, 916Mhz and wifi uses 2.4Ghz and 5Ghz. (For more information on Z-Wave and its protocols please visit: https://z-wavealliance.org/.)
Traditional “hub-and-spoke” networks include one central hub or access point in which all devices are connected. You are likely familiar with this network type already, an example is if you have 1 router (hub) and your wireless devices (spokes) connect to that router. Z-Wave devices create what is called a “mesh network.” Unlike a traditional “hub-and-spoke” network where each device only communicates with a central hub (access point), Z-Wave devices can communicate with each other in addition to the central hub. That means that a network of Z-Wave devices will create a net-like “mesh” that has a number of advantages over “hub-and-spoke” networks:
- Z-Wave networks usually have a greater range than traditional hub-and-spoke arrangements. An Alarm or Alarm Pro Base Station has a range of about 250 feet on an unobstructed path. See our wireless range guide here for improving range.
- Because devices can communicate with each other over multiple paths, their range can be extended even further.
- Mesh Networks are more robust than hub-and-spoke arrangements because signals can be re-routed if one of the connections is lost.
NOTE: When setting up a Z-Wave mesh network, the devices that act as extenders or “nodes” of the mesh are only those that plug into a wall. Battery-operated devices do not generate enough power to act as a mesh node. In the case of the basic devices that come with your Alarm system, it means that your Ring Alarm or Ring Alarm Pro Base Station and Range Extenders will act as mesh “nodes” while your window/door sensors won’t extend the Z-Wave signal.
More is Better
Another consideration when setting up a Z-Wave mesh network is that all Z-Wave devices are compatible with one another and that more repeating nodes may strengthen your network. If you’re having a problem with a device reaching your Alarm or Alarm Pro Base Station, you can always use a Z-Wave range extender plugged in between the device and the Alarm or Alarm Pro Base Station to help it communicate.
Remember, when it comes to your mesh network, the more devices you have connected, the stronger your network becomes.
Updating the Firmware on Your Ring Alarm Devices
Occasionally we need to make firmware updates to the devices on your Ring Alarm or Ring Alarm Pro system.
Firmware is software that runs on devices, and these updates help us improve the performance and stability of your Alarm system. Updating your firmware is simple and your home will remain safe and secure throughout the process.
You can schedule updates anytime, and still use your Ring Alarm or Ring Alarm Pro, as usual, arming and disarming your system when needed. Updates will take place one at a time when your system is disarmed. If you have a lot of sensors and devices in your home, it may take a few days or a few weeks for the update process to complete.
Why do my devices only update when Ring Alarm is disarmed?
In order to keep your home secure at all times, firmware updates will only work when your Ring Alarm or Ring Alarm Pro is disarmed. Devices cannot be armed and monitored during the firmware update process. You can arm your system as needed and bypass any device that is mid-update.
Before You Start
Full Power: Before you begin any updates, make sure that each device has plenty of power. Your keypad and range extenders will need to be plugged in, and none of the sensors should have a “low battery” warning.
Owners Only: Only Ring Alarm owners can manage firmware updates. If you’re a Shared User, please ask the owner to make any required updates.
Add and Remove First: If you need to add or remove any devices to your Alarm system, make sure you complete this before starting any updates.
Keypad Updates: If updating a Keypad, you will need to unplug it and plug it back in before you begin.
Updating Firmware on Your Ring Alarm System
- When you have any firmware updates available for your Ring Alarm devices, you’ll see a red dot on the menu icon.
- When you tap the menu, you’ll see a red circle icon with a number next to “Devices.”
- Tap “Devices” to go to the device list where you’ll see “Device Updates Available” blue status text below your Ring Alarm or Ring Alarm Pro Base Station.
- When you tap your Alarm or Alarm Pro Base Station to go to the Alarm device list you’ll see a blue status bar explaining where to manage firmware updates.

- Tap the blue bar and you’ll be taken to a screen where you can view and manage all of your Alarm device firmware updates.

- To begin scheduling updates for your devices, tap each device name where you’ll be provided with more information about the update process, like how long it should take, and a button to schedule the update.

- When you’ve scheduled a device to update, the update will be queued to occur when your system is disarmed and no other device is updating. You can schedule multiple device updates, but again, only one device update can happen at a time.
- Once you’ve scheduled all of your devices to update, you can now just let it run. You’ll receive notifications when updates are complete.
Other Important Factors
Arming during scheduled updates: If you need to arm your Ring Alarm or Ring Alarm Pro while updates are scheduled, go right ahead. If your Alarm is armed during the time when the device is scheduled to begin, it will simply wait until the next time you disarm to begin updating.
Arming while updating: If you need to update your Ring Alarm or Ring Alarm Pro while a device is in the middle of an update, you may be prompted to bypass this device. Updating devices cannot be monitored, so you’ll need to keep this in mind when securing your home.
Arming while Keypad is updating: While the Keypad is updating, you will need to use your Ring app to arm and disarm. Since Guest Users can only use the Keypad and do not have app access, they will not be able to arm and disarm while the Keypad is updating.
Troubleshooting
For some Neighbors, all devices will update as scheduled, but sometimes your device may require your action to kick off the update. Don’t worry, we’ll help you with this. All of the tips needed to troubleshoot your Ring Alarm Firmware Updates can be found in the app. Simply tap a device with an error message to learn how to resolve it.
Other things you should know
Do you have a Range Extender? Devices that rely on the Range Extender to communicate with the Base Station may temporarily disconnect during the update process.
Unusual device status: While a device is in the middle of an update, it may appear to be offline, or “tampered”. This is nothing to worry about, and should resolve itself after the update completes. It’s still reporting “tampered” after the update completes, check that the Sensor’s back cover is fully closed or simply re-tamper the Sensor.
Cancel Anytime: If you need to cancel a Firmware update before it begins, you can do so by tapping X next to and devices with “Updates Scheduled” or in “Updating” in progress. Once canceled, you will need to reschedule an update at a later time.
