CMS can help you to manage your DVR/NVR both locally and remotely. But before adding your DVR/NVR to CMS,
please go to the Main menu–>Info–>Version to make sure NAT status is connected. If you have a problem, please click this link for help.
Please plug DVR or NVR into the router with network cable if you wanna use a computer or phone to connect the recorder locally or remotely.
You can judge whether the recorder was connected to the internet by the status of a network like a picture below.
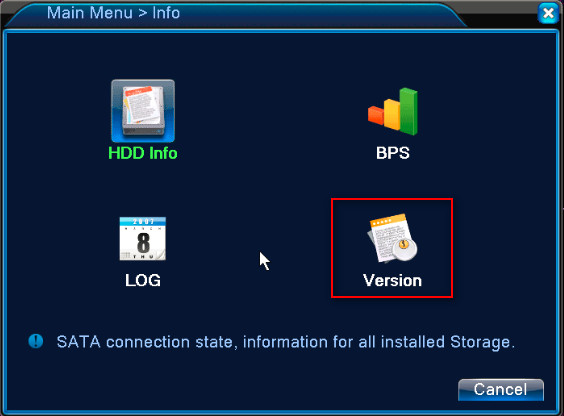
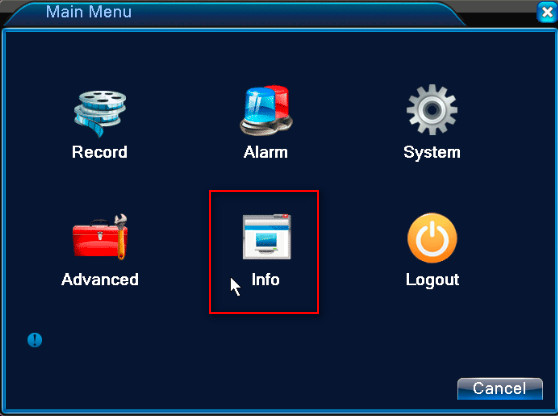
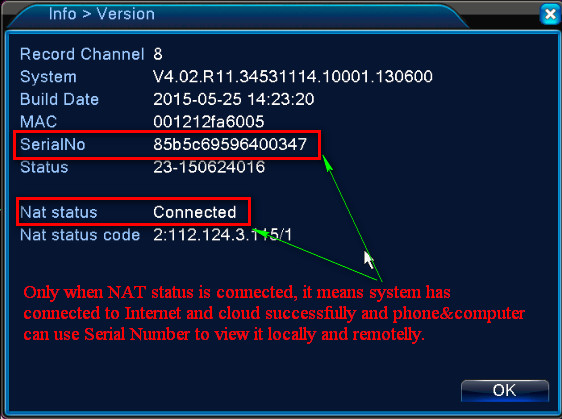
If the status is not connected, it means the recorder did not connect to the cloud successfully.
Here are the methods:
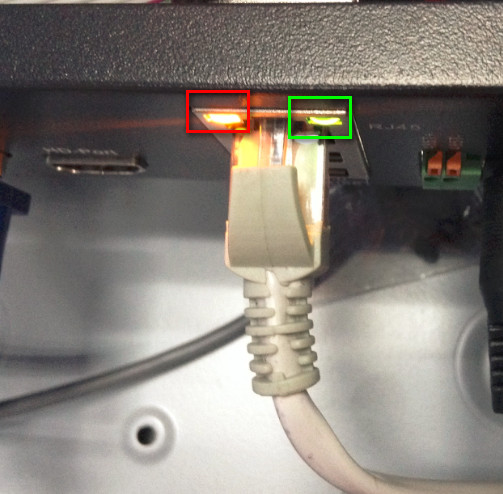
1. Please check the yellow and green light on the ethernet port of the recorder. One should be blinking which indicates the recorder has connected to the router successfully. If not, please change the ethernet port of the router or another reticle to have a try.
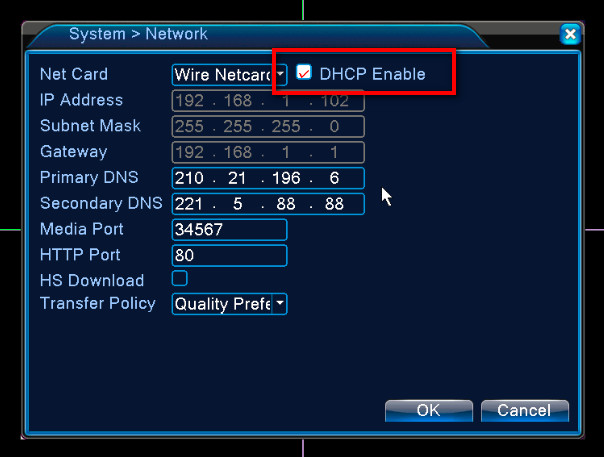
3. Go to the Main menu—-System—Network to confirm DHCP is ticked.
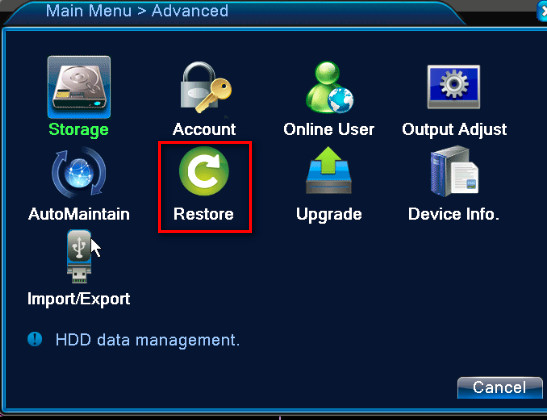
4. Please reset the recorder to the factory default setting.
5. If you can, please change the router to have a try.
Here is new CMS software:
for Mac:
for windows computer:
https://download.annke.com/document/Computer_Software/General_Bate_CMS_V3.1.0.9.T.20190306.exe
Then you can follow the steps below to add NVR/DVR to your CMS.
1 Download CMS and install it on your computer according to the instruction in the download file.
2 Double click the icon ![]() to open CMS, the default User Name is super, the password is blank (no password).
to open CMS, the default User Name is super, the password is blank (no password).

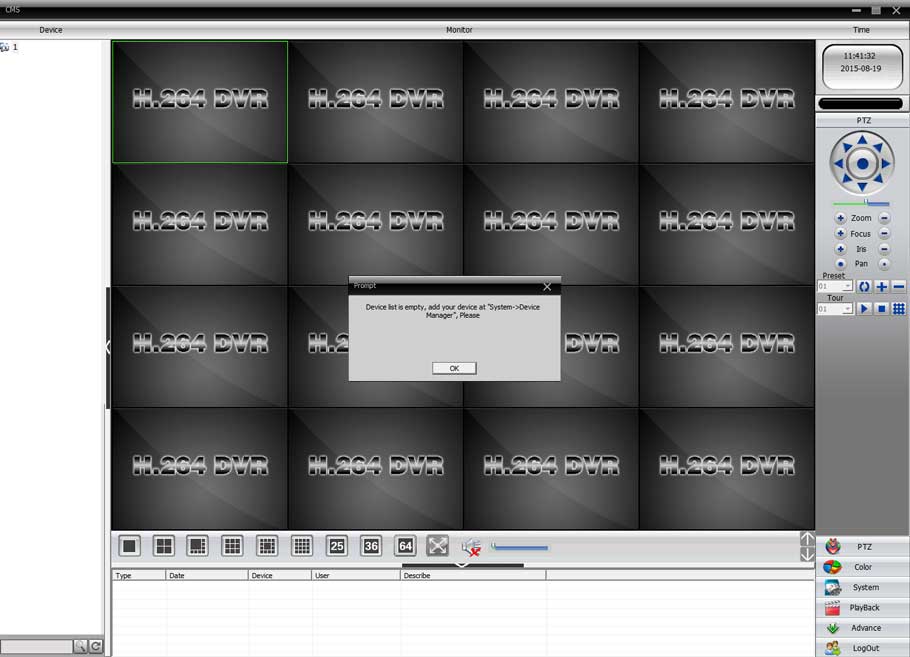
3 For the first time login, you will see the interface as below.

4 To add DVR/NVR, you can click the System menu on the bottom right corner. Then go to Device Manager, click ADD AREA to create a zone.
Name the zone yourself and click OK.

5 After adding an area, click the area name you created then click on  to add your DVR/NVR.
Device Name: name it yourself
Login type: choose Cloud
Serial ID: Here is a method to find Serial ID
User Name/Password: default is admin and no password, same as your DVR
Click “ OK” after you have done the above parameters, you could double click to open this device.

6 After you add your DVR successfully, you can view and manage your DVR on CMS.


7 Here is the introduction to the CMS interface.

Note: If you have a problem adding DVR/NVR to CMS, please double-check the connection between
your DVR/NVR and the Internet and upgrade your CMS to the latest version.
