Camera and Lorex software installation
Install your cameras where desired and set up the DVR.
Request latest Lorex software from their support department as I had issues with earlier versions found on their support page.
At the time of writing, I used the following installer: Lorex_Client_13_PC-v1_1_0_31-2018_06_26
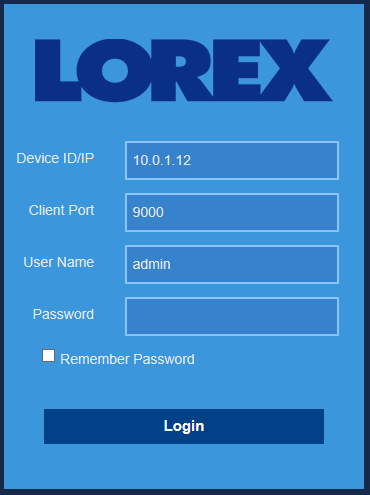
I used the following settings to access the DVR which already had the IP assigned:
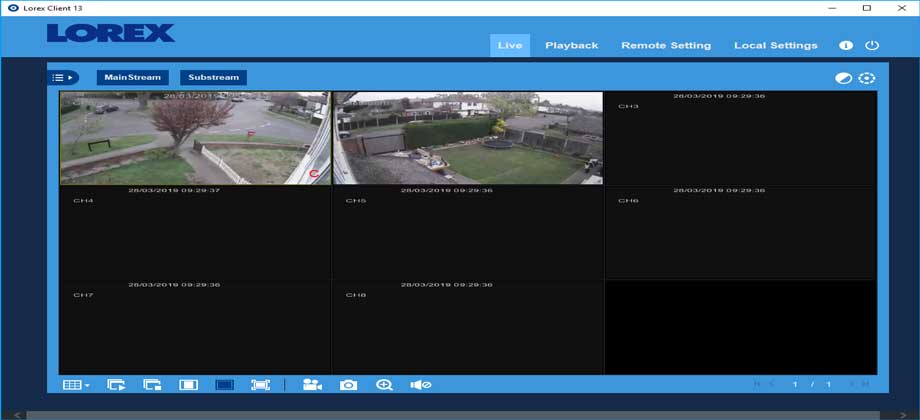
Once installed and logged in, you should see the cameras in the GUI:
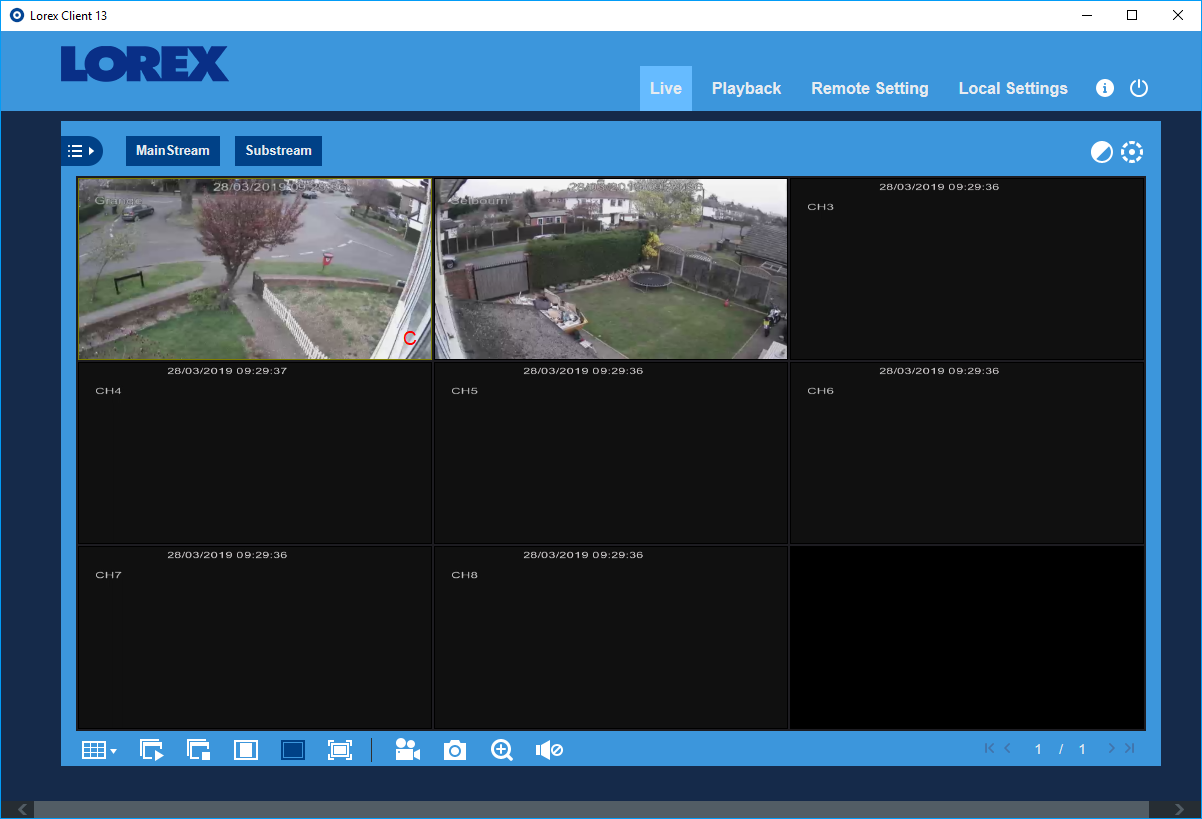
From here you can select MainStream and SubStream depending on the quality you require when on the live view.
Configure the system
Select the “Remote Settings” Tab and configure “Display” so that each camera has a memorable name. In this example “Grange”
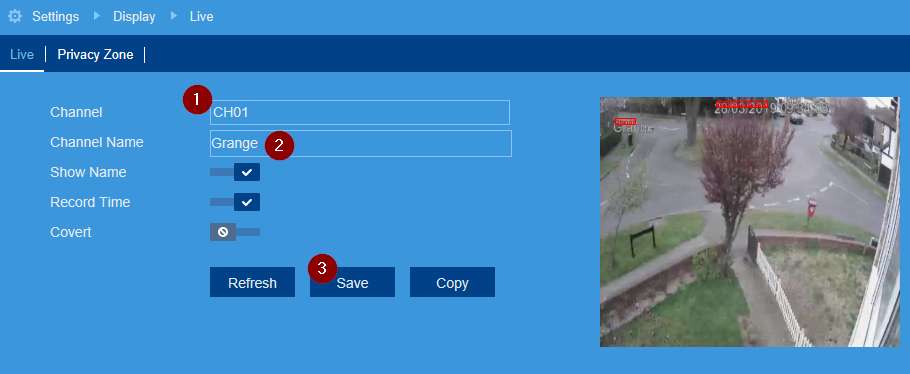
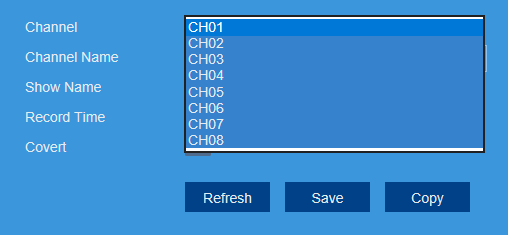
The interface here is clunky as you need to save the changes and then select “Ch01” which is actually a drop down box.
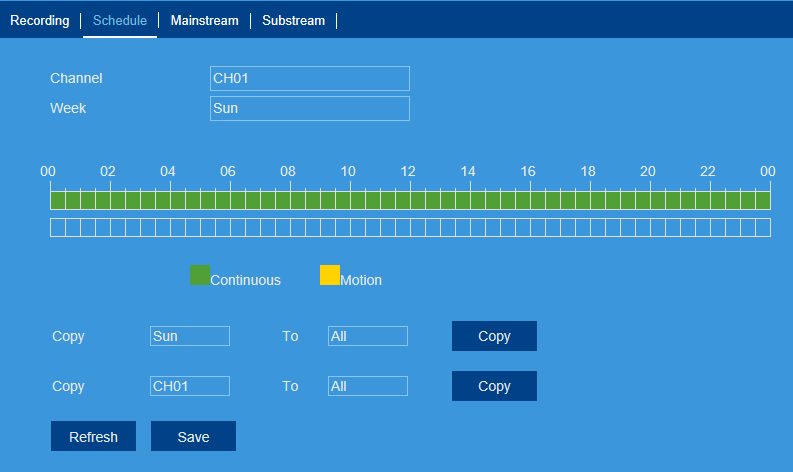
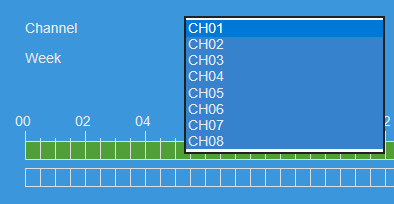
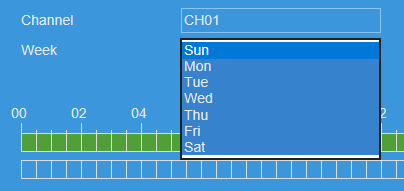
Now set “Recording > schedule” as desired for Each Channel AND Day of the week.
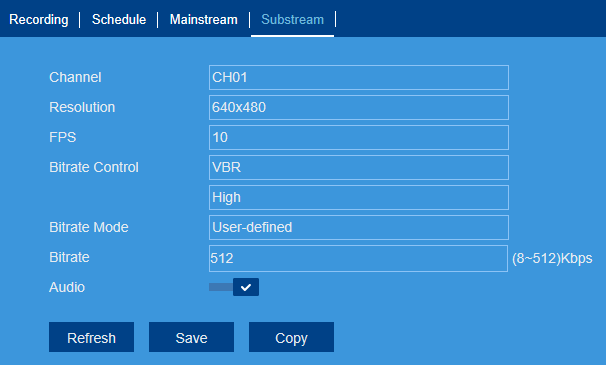
Now we will setup bitrate for Mainstream and Substream.
Mainstream is used for recording and we have plenty of space so I use a high resolution and bitrate.
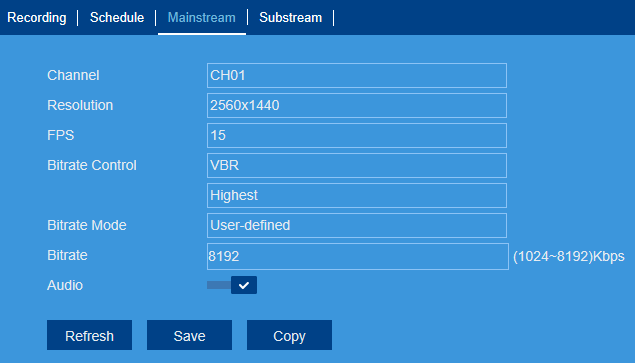
However, you can reduce these if you have many cameras or you need to keep recording for a long time.
For remote viewing, I use the substream with much reduced settings.
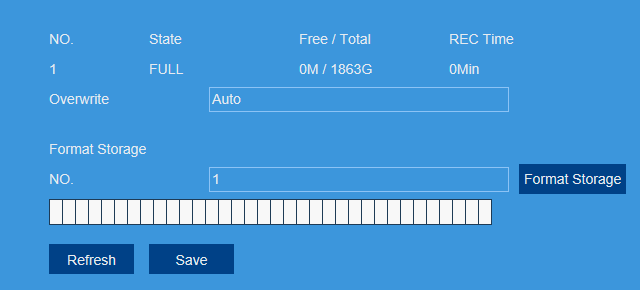
Configure the storage by formatting and setting the Overwrite to auto:
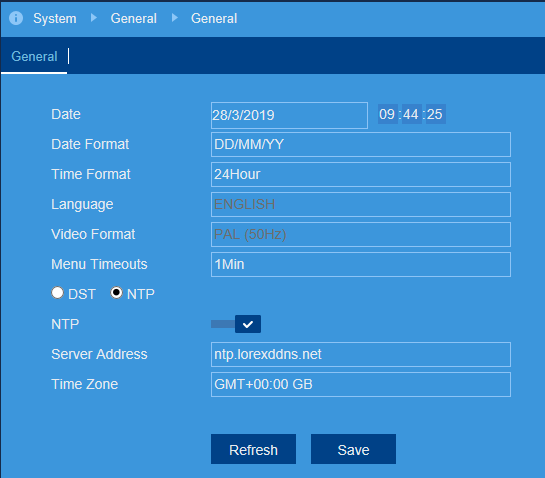
Under “System > General” configure the Date and time as required with NTP
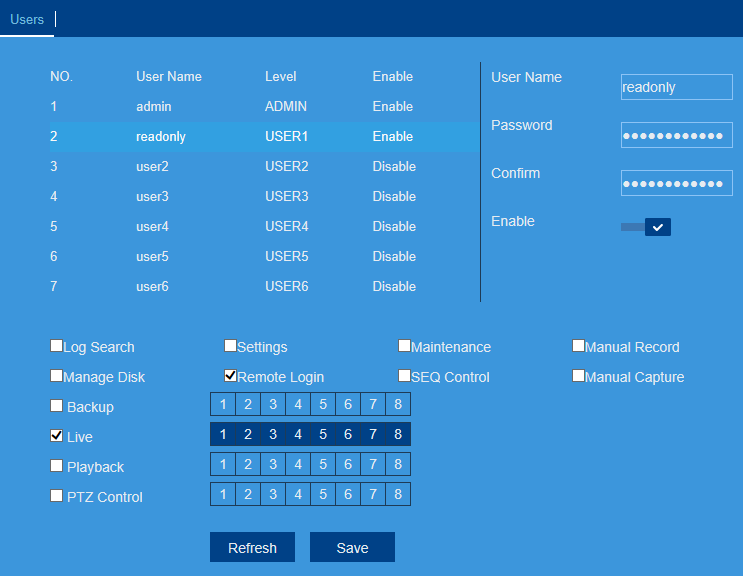
Now configure a READONLY user account with secure password.
The admin account should only be used for local access via the network to make changes or view recorded footage. The readonly account is used to connect to the cameras remotely.
Here I have allowed only remote login and live view for all 8 channels.
Now the system should be setup, we need to configure our Firewall to port forward.
As you can see from the RTSP settings under Network, it tells you how to access each camera using RTSP URL as described.
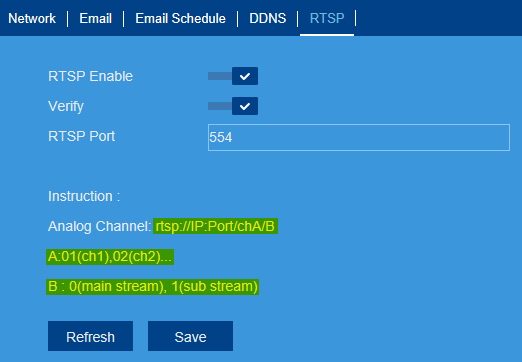
So, for my example, using:
rtsp://10.0.1.12:554/ch01/1
would show me camera 1 substream on the local network but I want to access remotely, so I will use port 556 externally and redirect that to 554 to the DVR (10.0.1.12)
I configure NAT RTSP port from 556 externally > 554 internally on my router/firewall.

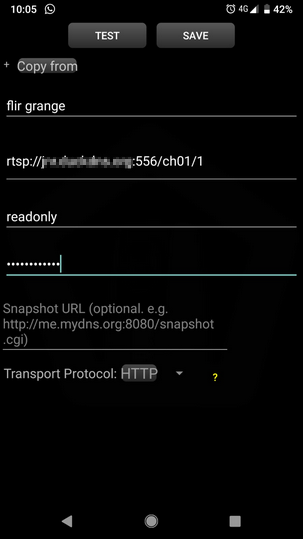
Now within Onvifer on my android phone, I add a generic RTSP camera with the following settings.
