NOTE
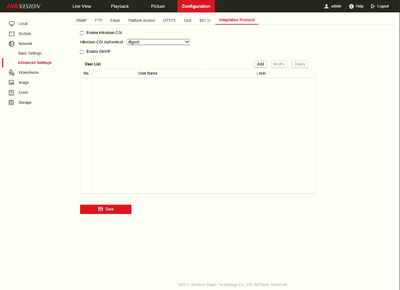
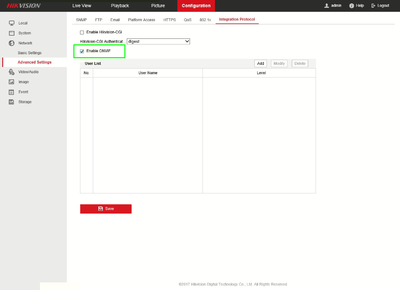
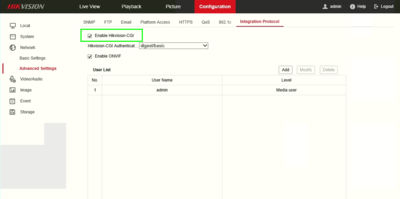
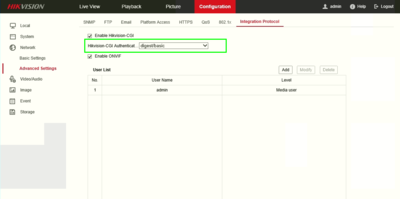
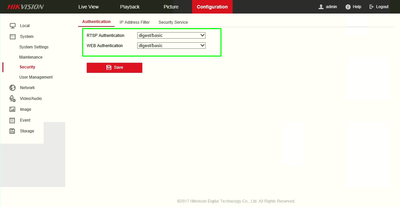
- ONVIF must be enabled on the Hikvision camera before trying to add the device to a Dahua recorder.
- Enable “HIkvision-CGI”
- Set, “Hikvision-CGI Authentication” to, “digest/basic”
- Set, “RTSP Authentication” and “WEB Authentication” to, “digest/basic”
- After IP Camera is added to recorder, reboot both devices.
Description
The below instructions will show you show to add a Hikvision IP Camera to a Dahua NVR, that is on the same Local Area Network, or LAN.
Prerequisites
- Dahua NVR
- Hikvision IP Camera
- NVR and IP Camera connected to the same LAN
- IP Address of NVR and IP Camera
- User name and password to both NVR and IP Camera
Video Instructions
Step by Step Instructions
1. Start by creating a list of your devices.
| NVR4216-8P | Hikvision DS-2CD2342WD-I |
| IP:172.16.13.121 | IP: 172.16.13.41 |
| User Name:admin | User Name:admin |
| Password:(Your Password) | Password:(Your Password) |
Note:
- You can locate your Dahua NVR’s IP address by going to the network menu, or using the ConfigTool.
- You can locate your Hikvision’s IP address using Hikvisions SADP Tool.
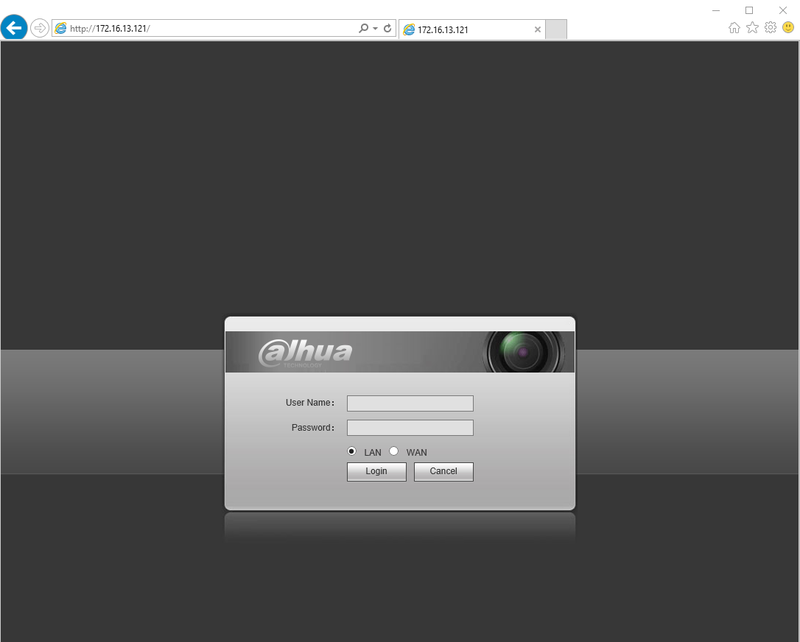
2. Open Internet Explorer, and input your NVR’s IP address into the URL bar at the top of the browser window.
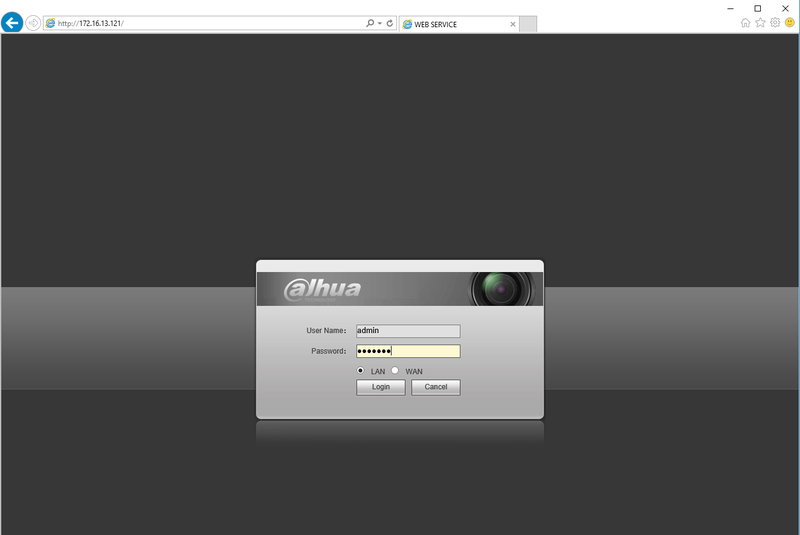
3. Enter your credentials, and click, “Login”
4. Click, “Setting”
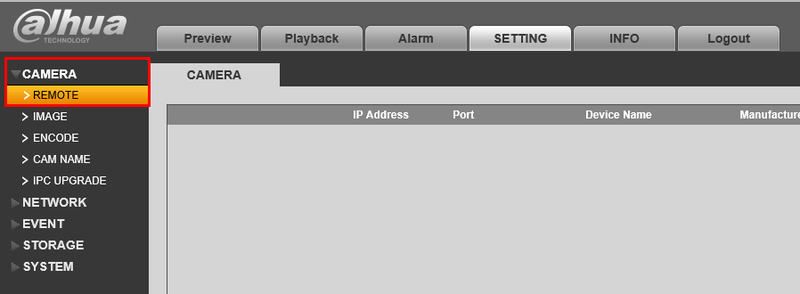
5. Then click, “Camera” and then, “Remote”
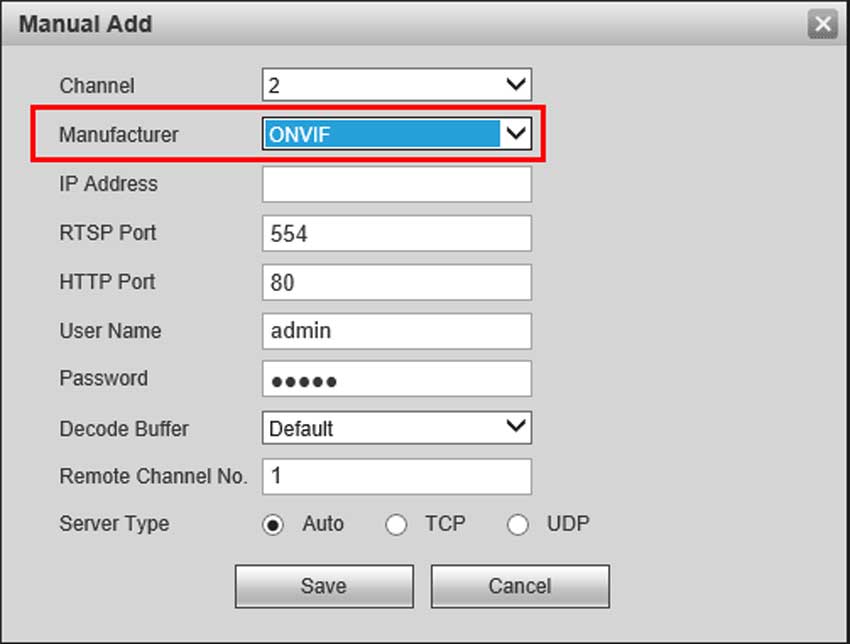
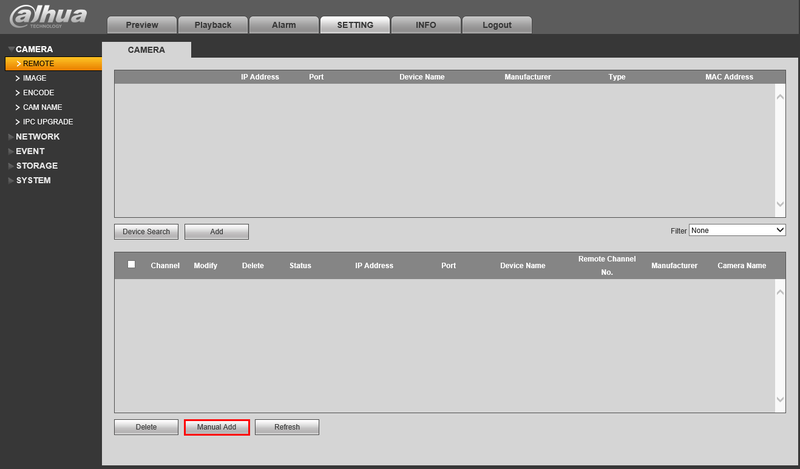
6. Click, “Manual Add”
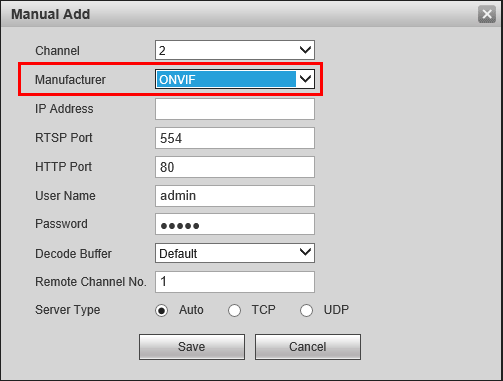
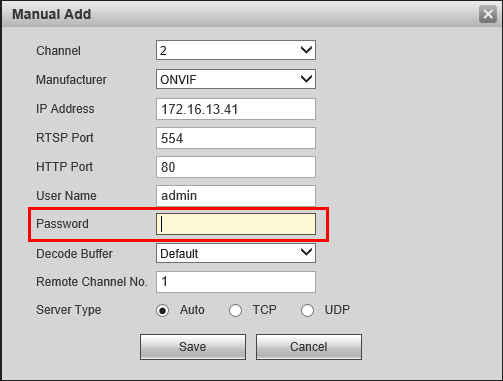
7. Change, “Manufacturer” to “ONVIF”
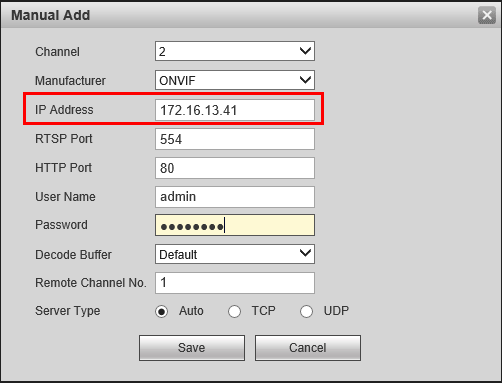
8. Input your Hikvision camera’s IP in, “IP Address”
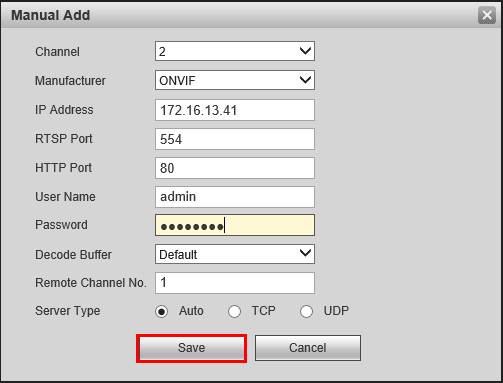
9. Input your Hikvision camera’s password into the, “Password” field.
10. Click, “Save”
11. If successful, the device will be listed in the bottom table, with a green check under, “Status”
