 CAUTION!
Using a faulty disk is risky. Faulty disks should be replaced immediately.
Contact your local dealer for information about hard disks.
Bad Sector Detection
Bad sector detection checks for bad sectors in hard disks.
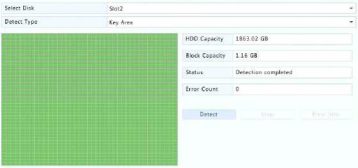
1.Click Maintain > HDD > Bad Sector Detect.


HDD Capacity 1863.02 GB
Block Capacity 116 GB
Status Not detected
Error Count 0
I J Normal B Damaged
.
.
2.Select the desired disk and detection type, and then click Detect to

start detection. Click Stop if you want to stop.
H Normal H Damaged
CAUTION!
The detection stops automatically when the error count reaches 100.
12 system configuration
Basic Configuration
2.Configure the parameters.
NOTE!
•Only admin can set Enable Password.
•If Enable Password is not selected, no password is required for local login at system startup. However, a username and password are still required when you log in after a logout.
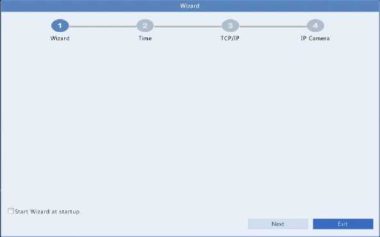
•You may also set startup Wizard here by clicking Wizard.

3. Click Apply to save the settings.
Time Configuration
Time
1.Click System > Time > Time.
2.Select the correct time zone, and then set date and time formats and the system time. The following shows an example.
TimeZone (GMT+Di:0C) Sfijing Hong King Urumqi. Singapore Taipei •
Date Format YYYY-MM-DD ’
Time Format 24-hour ’
System Time 2017 - 06 - 20 C 14 : 27 : 35 3
Enable Auto Update NTP Server Address NTP Port
Update Interval
3.To use Network Time Protocol (NTP), enable auto update, set the address and port number of the NTP server, and the update interval.
4.Click Apply to save the settings.
DST
1.Click System > Time > DST.
2.Enable DST by selecting the check box, and then set the start time, end time, and DST bias correctly. The following shows an example.

3. Click Apply to save the settings.
.
Time Synchronization
Use this function to synchronize camera time with the DVR. Time sync is enabled by default, and cameras will synchronize time with the DVR after getting online, and then synchronize once every 30 minutes.
1.Click System > Time > Time Sync.


