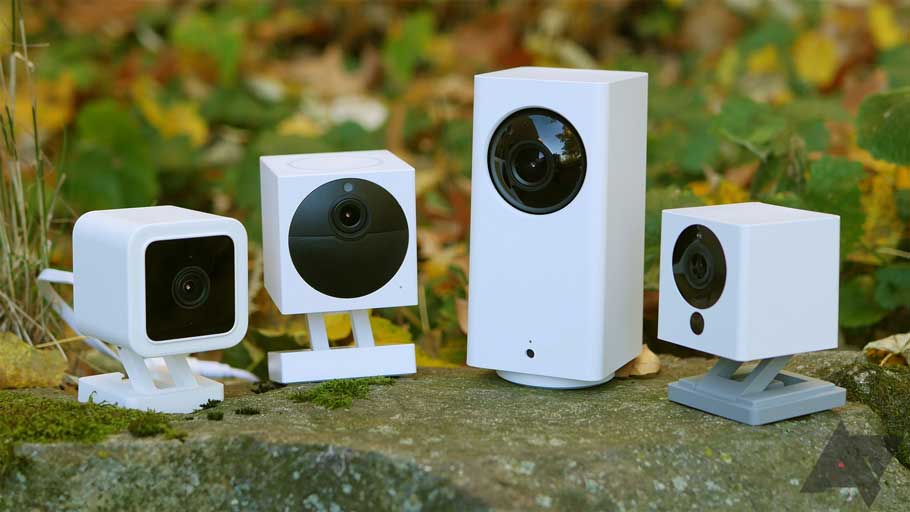
What you’ll need:
- Wyze’s webcam firmware
- A 32 GB microSD card (recommended)
- Wyze Cam v2 or Wyze Cam Pan
- A USB A to A cable*
*If you have a USB C to A cable, it may work. Follow the instructions below; if you have issues, switch to a USB A to A cable.
Before you start:
- Wyze Cam v2 (and Pan) were not designed to be used as a webcam. This firmware is for folks who need a webcam but can’t buy one.
- This solution should be used “as is.” We are not planning on continuous improvements or bug fixes.
- Once the Wyze Cam is flashed to webcam firmware, it will not be able to connect to the Wyze app, unless you manually flash it back to stock firmware.
- This may or may not be compatible with your computer operating system. We have tested and confirmed that it works on Mac OS 10.13, Windows 7 and 10.
- This solution has been tested and works with Zoom, GoToMeeting, Blue Jeans, Google Hangouts, Skype, and Cisco.
What we know:
- The webcam video, speaker, and mic all function properly.
- Mic audio may be low. We suggest you set your audio level to medium, or use your own microphone and speaker.
How to flash your Wyze Cam to a webcam:
- Insert the microSD card into your computer.
- Download the webcam’s special firmware here.
- Windows 10: Right-click on the file “V2Webcam.zip” or “PanWebcam.zip” and select Extract all to your desktop. Drag and drop the “demo.bin” file on the root directory of your microSD card.
- Mac OS: Click on the file “V2Webcam.zip” or “PanWebcam.zip”. Drag and drop the “demo.bin” file on the root directory of your microSD card.
- Eject and remove the microSD card from your computer.
- Unplug the Wyze Cam from the power source (ex. the end attached to the wall socket).
- Insert your microSD card into the bottom of the camera.
- Press and hold the Setup button, then plug your Wyze Cam back into the power source.
- Continue holding the setup button for 3-6 seconds until the light is solid blue, then release the button.
- Note: The “Solid Blue” in this case is not the same as the one normally seen on the camera. Instead, both the blue and yellow LEDs will be on at once, appearing as a lighter blue.
- Wait 3-4 minutes.
- The camera will reboot, and the light status will change during this time.
- Once complete, the status light will flash yellow and blue at the same time (not alternating).
Wyze Cam will continue to flash yellow and blue at the same time if the webcam firmware is installed properly and the camera is turned on.
To use your new webcam:
- Connect the USB A to A cable to the Wyze Cam USB port and the computer USB port.
- In your video conference tool (ex. Zoom), change the camera source to “HD USB Camera.”
- We recommend you use a different source for the speaker and microphone functions.

literally ripped the whole content from the Wyzecam web page… do you write anything yourself?