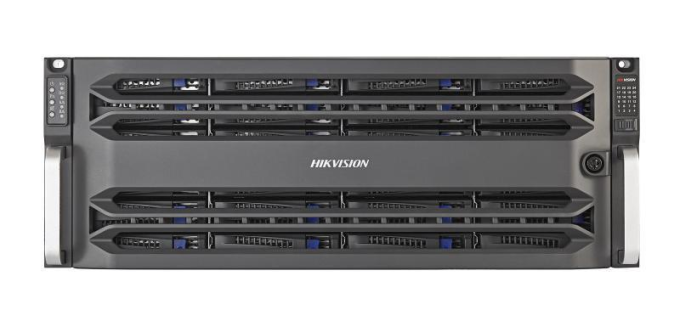
How to Setup and Configure Hikvision HybridSAN Storage, This solution guide covers everything needed to know for the setup and configuration of the Hybrid SAN DS-A71024R/440 to prepare for deployment with the use of HikCentral for auxiliary storage or storage for standalone devices such as cameras or encoding devices. The setup will include the product and its accessories, pre-installation/ setup requirements, installation of all hard drives, physical connection points, and activation using our SADP software, RAID configuration, and initializing the drives.
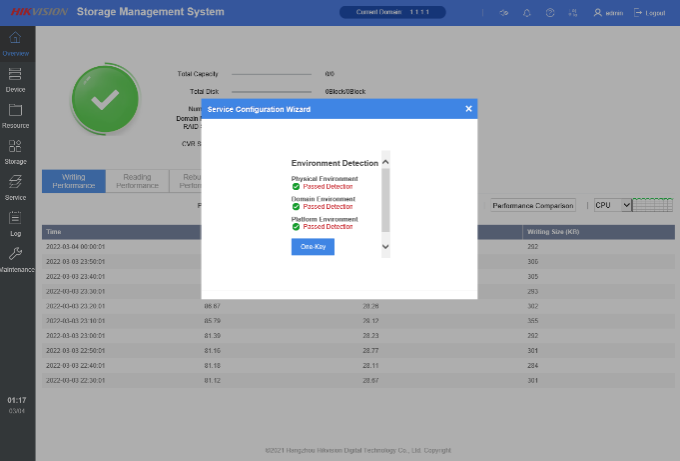
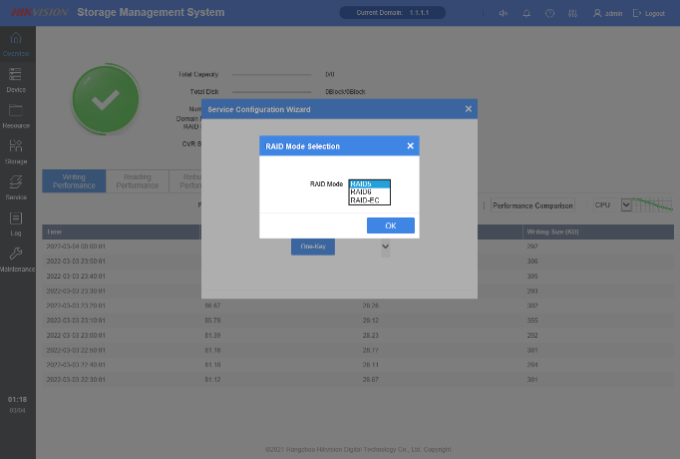
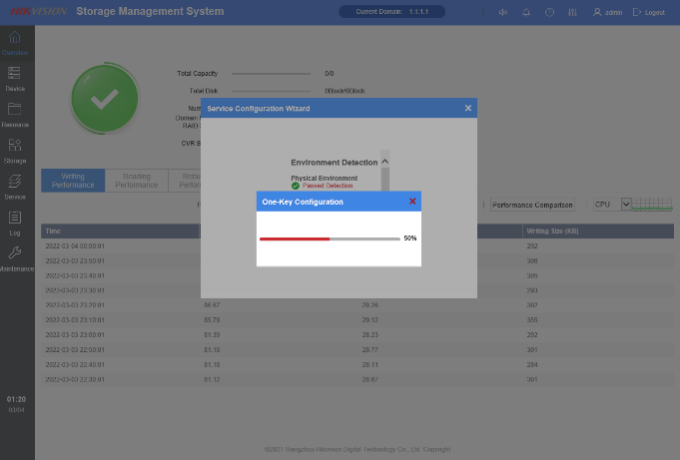
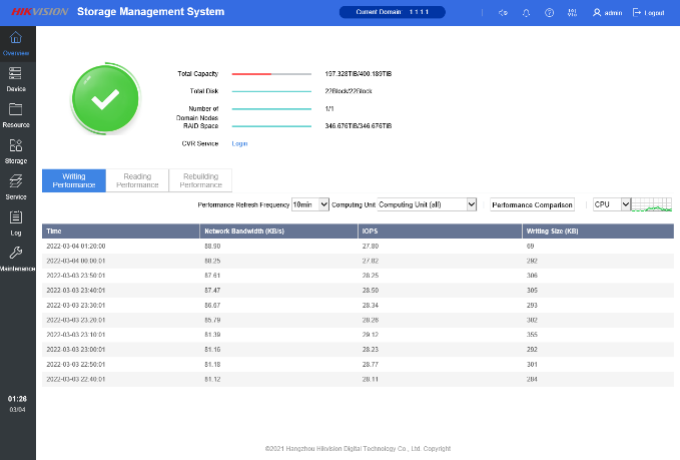
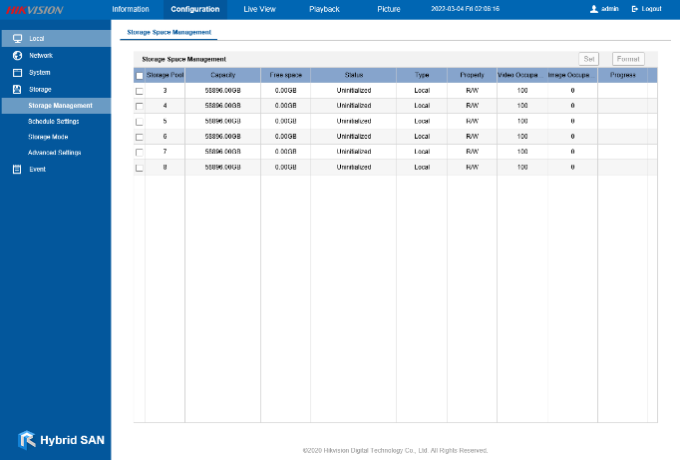
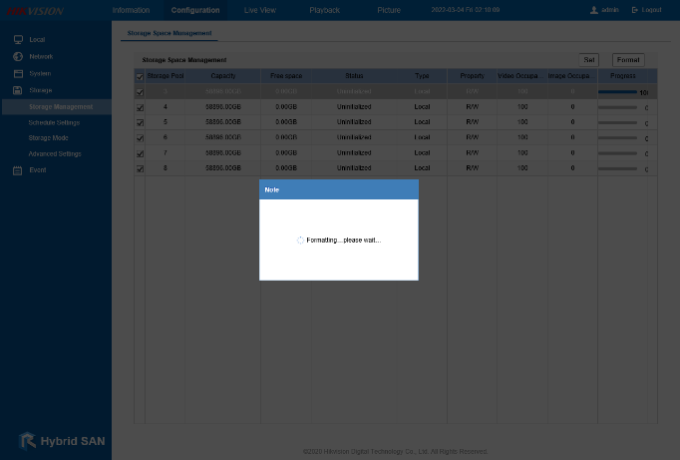
In short, the setup consists of the following: unpacking the server, waiting 12 hours before power on, installing the drives, connecting both power cables/network cables, activating the server with SADP, configuring the RAID with the One-Key setup in the Storage Management System, setting the device time, and finally initializing the drives (format) in the Hybrid SAN System interface.
This model Hybrid SAN is unique because it offers a one-touch setup configuration of the RAID array and does not require manual configuration of the array like our other models (DS-A80624S, DS-A81016S, DS-A82024D). There is an optional monitoring application; Storage Center Maintenance Client that allows the operator to monitor the health & status of the server. This application would be ideal if used with a standalone product such as cameras, NVRs, or DVRs.
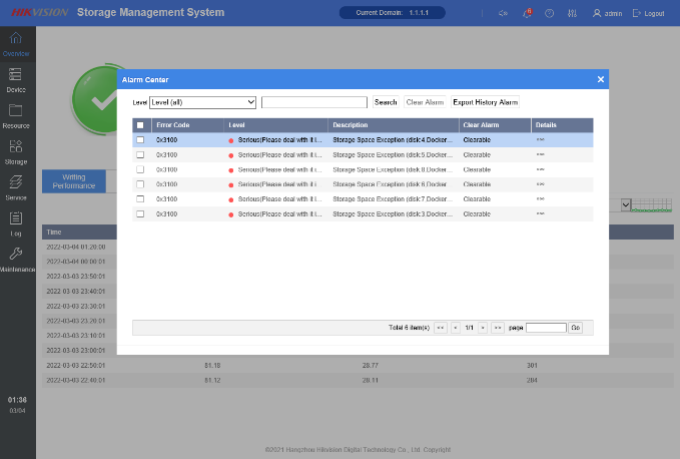
If your project is using HikCentral then you do not need this application as HikCentral will monitor the health & status via the Health Monitoring from the web client or control client. Additionally, the Hybrid SAN offers its own built-in health & status monitor via the Storage Management System web interface.
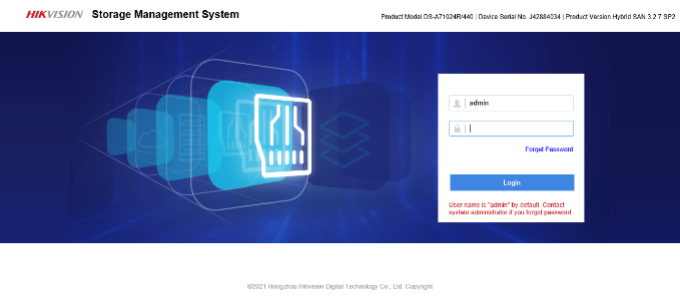
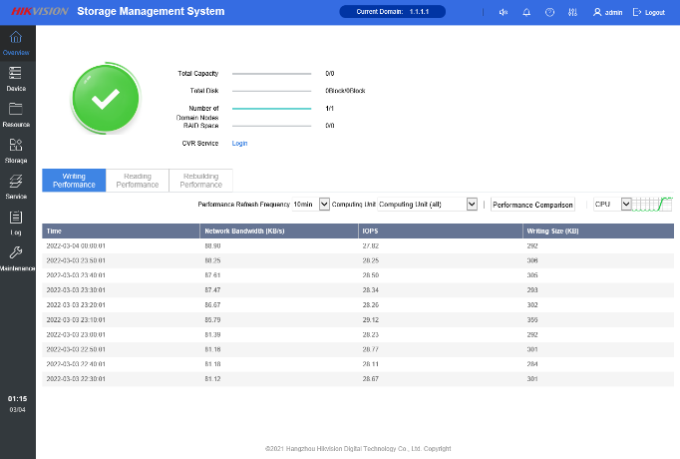
There are two web interfaces/systems that will need to be accessed to complete the setup; Storage Management System, and the Hybrid SAN System. Once the setup is completed in both web interfaces the Hybrid SAN server is set up and ready to be deployed to HikCentral following a separate setup guide, or configuring to be used for recording storage with other devices such as cameras, NVRs, or DVRs also followed up in a separate setup guide. These setup guides are linked at the bottom of the article.
How to Setup and Configure Hikvision HybridSAN Storage
Unboxing
NOTE: The hard drives are not preinstalled and will come in two seperate smaller boxes along with the main server box for a total of 3 boxes for this product.
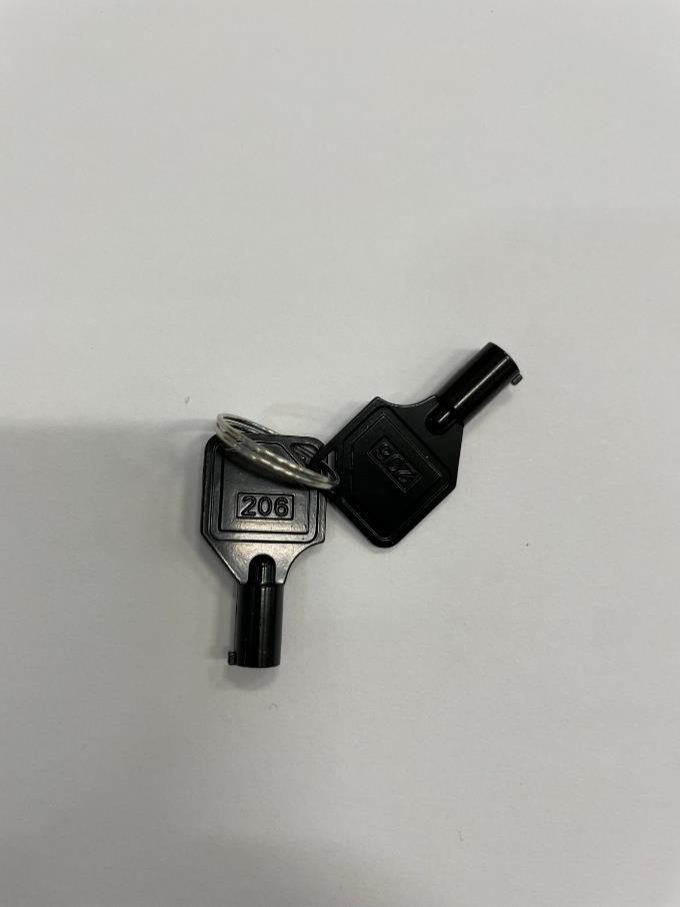
Box contents:
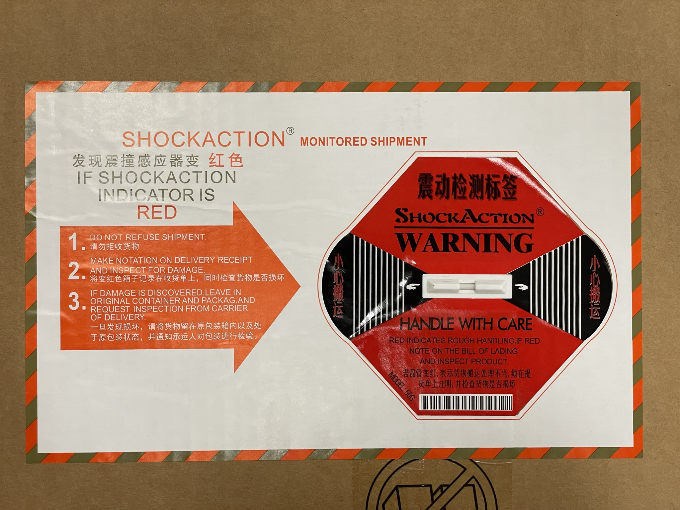
Depending on how the item was transported you may have a shock action placard on the outer side of the main server box, before you unpack the main server please take note that there is no damage.
Prerequisites
NOTE: Please do not turn the server on for at least 12 hours before operation.
Initial Power-On Precaution
• After you have unboxed the server please make sure it is on a flat level surface (no tilting is allowed), mounted with rails, or placed on a rack shelf before operation.
• Connect both power cords of the device to the power socket and wait for 12 hours before starting up (drives should not be installed yet)
• If the device has been transported and stored for more than 10 days; remove the drives and repeat the process above, after 12 hours start the device for 30 minutes with the drives removed. Power down the device by holding the power button for 5 seconds, inserting the drives, and powering back on.
Installation
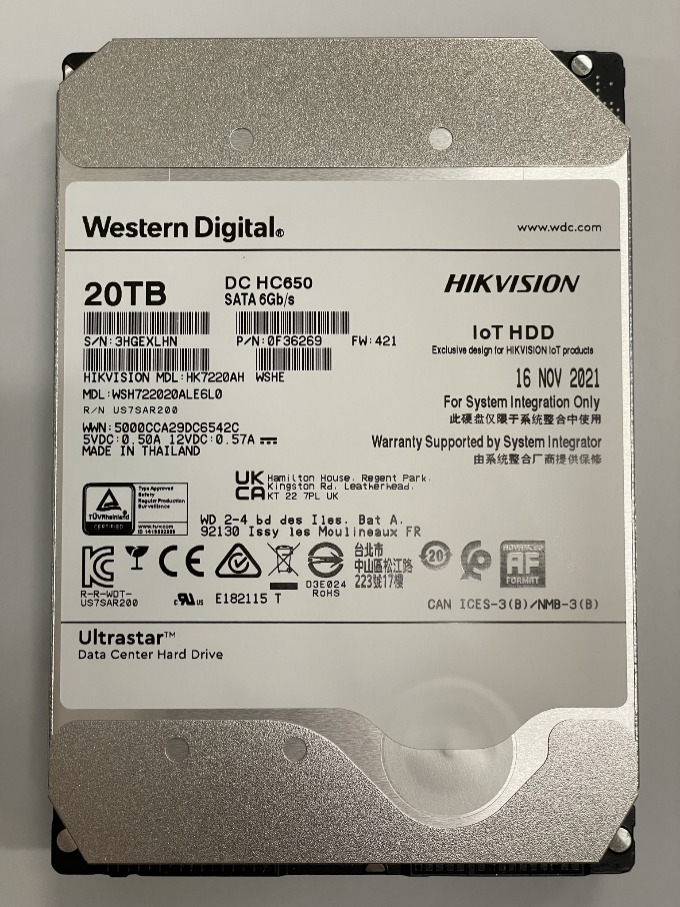
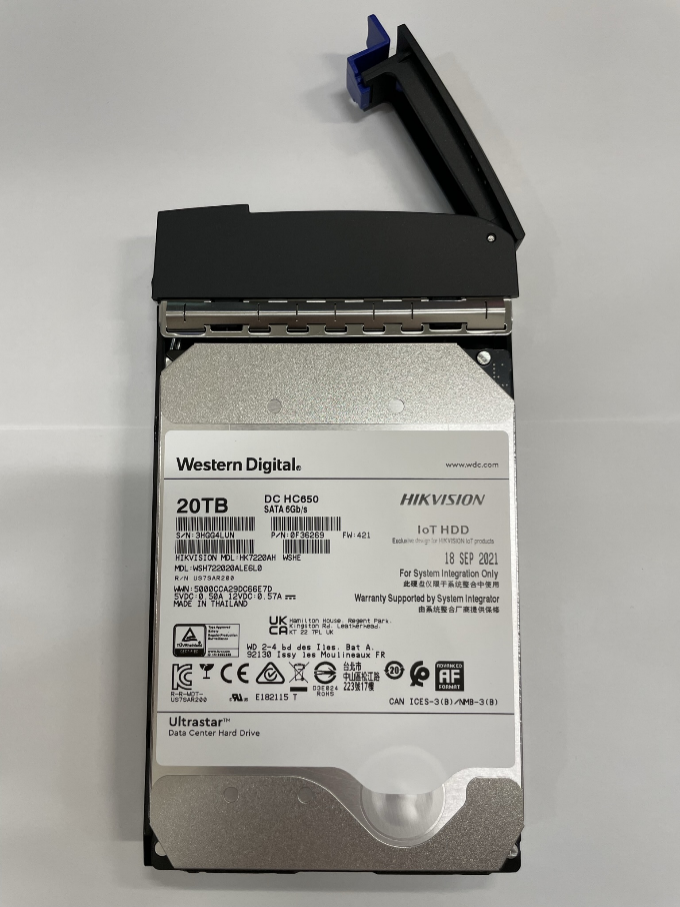
Hard Drives Information
• Currently, we do not advise or recommend mixing drive models in order to maintain system integrity, SMART features, and function.
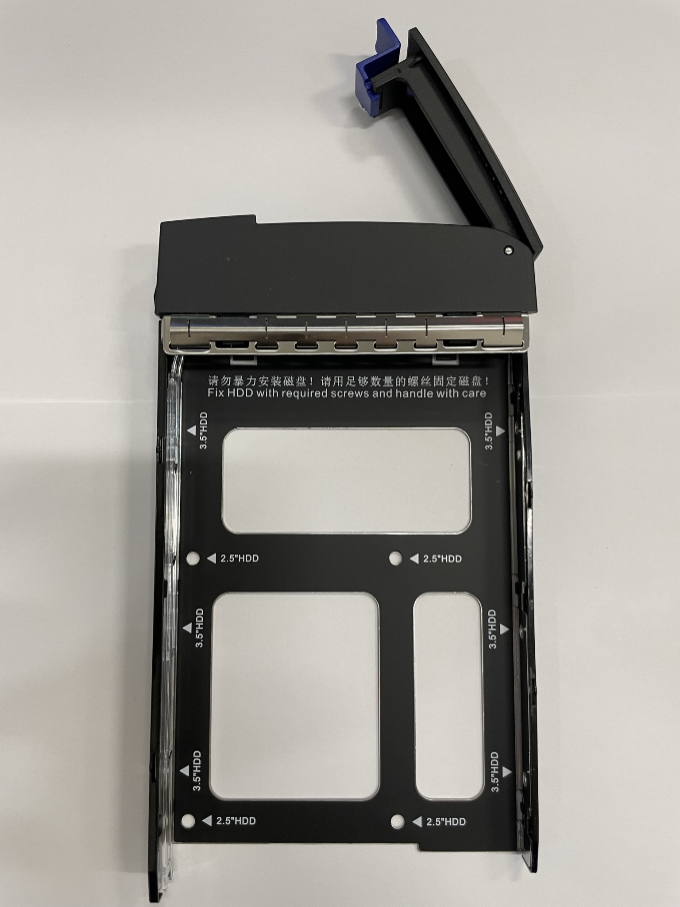
Hard Drive Installation
NOTE: Verify drive direction is correct so that it is not plugged in backwards when installed.
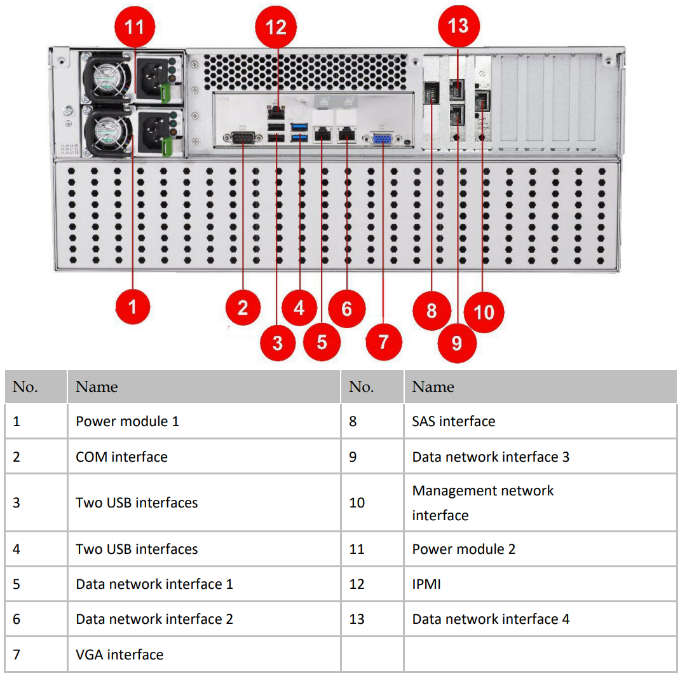
Physical Interface
Activation
If you do not see the device listed in SADP, use Port No. 12 for network management on the server to configure the setup.
See No. 12 on physical interface diagram to locate the LAN port.
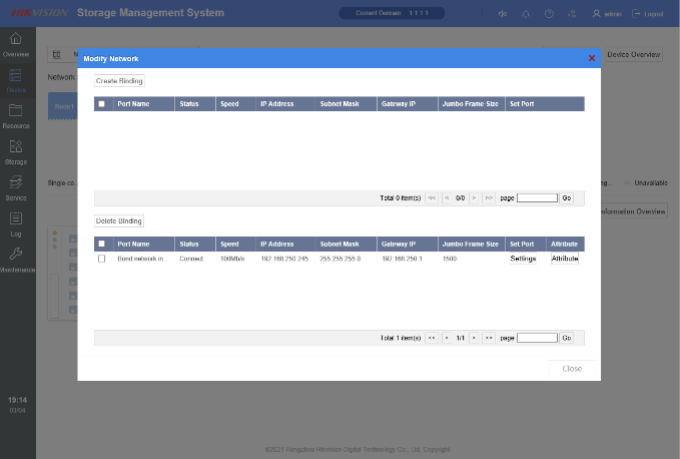
After the initial setup is compelted if additional LAN ports are required they can be setup from the Storage Managment System > Device > Information Overview > Modify Netowrk > Settings.
Storage Management System
https://<IP Address of Hybrid SAN>:2004/
NOTE: Internet Explorer is recommended since not all web elements will display correctly in other browsers.
NOTE: To locate the IP address of the Hybrid SAN please use SADP
NOTE: Due to the One-Key setup configuration; the Array, Storage pool, and LUNs are all pre configured paremeters which can not be modified or changed. If you require more advanced options over the storage configuration we recomended using DS-A80624S, DS-A81016S, DS-A82024D.
NOTE: If you decide to change the RAID configuration with this system design it is required to reset the entire system from Storage Management System > Maintenance > All system settings reset (the reset will retain password, system time and device IP).
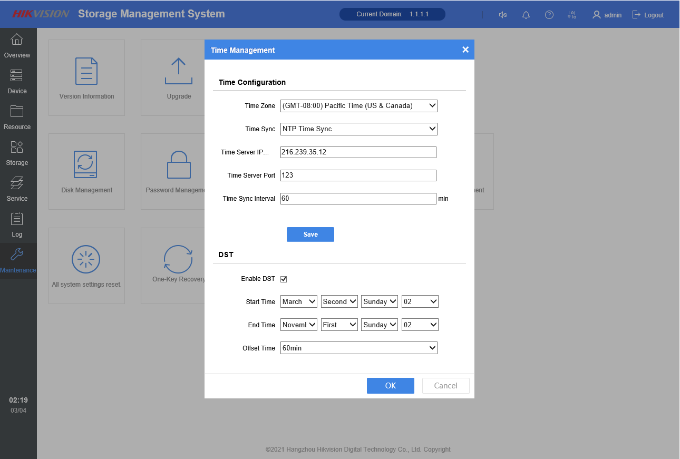
NOTE: You will need to use an IP address with the NTP option, domain names are not supported.
NOTE: All devices (NVR, DVR, Cameras) are required to be in the same timezone as the Hybrid SAN, if the time is not set or not in the same timezone as the devices there will get an error when adding devices and they will not add or record.
Hybrid SAN System
http://<IP Address of Hybrid SAN>/
Additional Options | Adding Device
Please use the following links below to help add the storage server to HikCentral, how to add cameras, NVRs, or DVRs:
Adding Hybrid SAN to HikCentral Setup Guide
Adding Cameras, NVR / DVR to Hybrid SAN Setup Guide
For HikCentral please refer to “Adding Hybrid SAN” via the web client user manual for HikCentral. More information coming soon.
Storage Center Maintenance Client
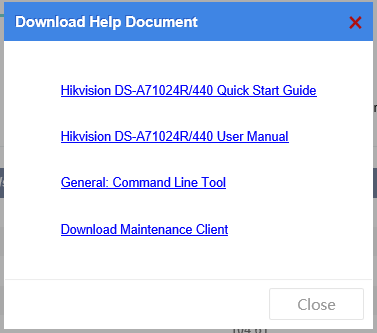
Download and setup guide both available from help section in the web interface of the Storage Management System.
Notes
NOTE: The hard drives are not preinstalled and will come in two seperate smaller boxes along with the main server box for a total of 3 boxes for this product.
NOTE: Please do not turn the server on for at least 12 hours before operation.
NOTE: Verify drive direction is correct so that it is not plugged in backwards when installed.
NOTE: Internet Explorer is recommended since not all web elements will display correctly in other browsers.
NOTE: To locate the IP address of the Hybrid SAN please use SADP
NOTE: Due to the One-Key setup configuration; the Array, Storage pool, and LUNs are all pre configured paremeters which can not be modified or changed. If you require more advanced options over the storage configuration we recomended using DS-A80624S, DS-A81016S, DS-A82024D.
NOTE: If you decide to change the RAID configuration with this system design it is required to reset the entire system from Storage Management System > Maintenance > All system settings reset (the reset will retain password, system time and device IP).
NOTE: You will need to use an IP address with the NTP option, domain names are not supported.
NOTE: All devices (NVR, DVR, Cameras) are required to be in the same timezone as the Hybrid SAN, if the time is not set or not in the same timezone as the devices there will get an error when adding devices and they will not add or record.
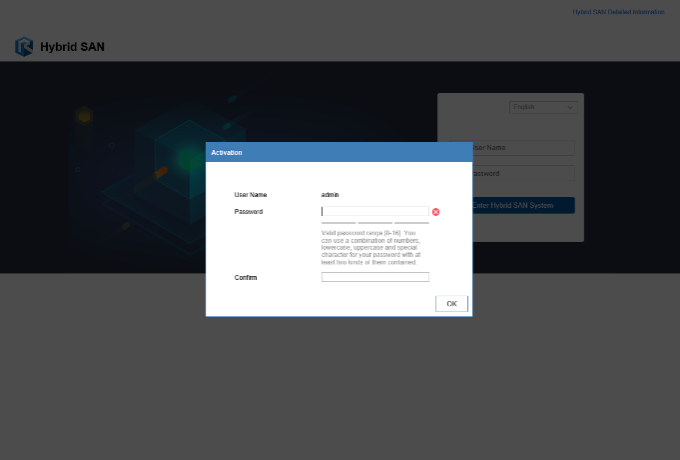
NOTE: During the initial setup you are able to choose a password for both web logins, however if you forget the password for either “Storage Management System” or “Hybrid SAN System” logins please use SADP or the Storage Management System login URL to find the password reset option to export an XML. The Hybrid SAN System login URL does not have the option to reset the password. Once the password reset has been submitted the password XML reset request to our technical support team, the new password created will be applied to both portals.
Bugs & Known Issues
Please disregard both of the following prompts, they are both system bugs:
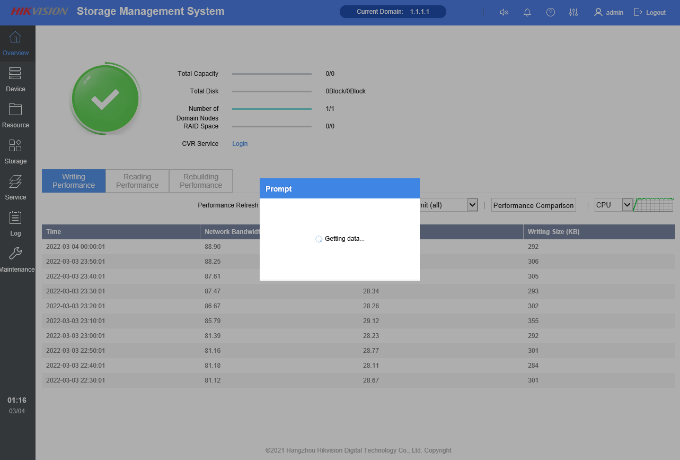
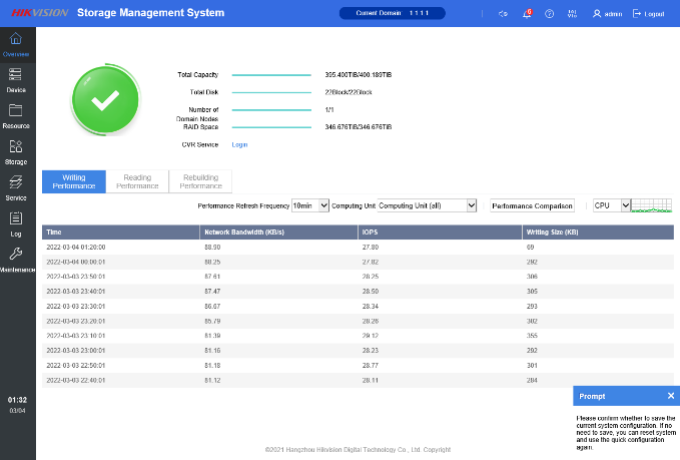
The following prompt will display after the one-touch setup is completed by clicking on the quick setup icon under Storage Management System: lower right-hand corner “Please confirm whether to save the current system configuration…”
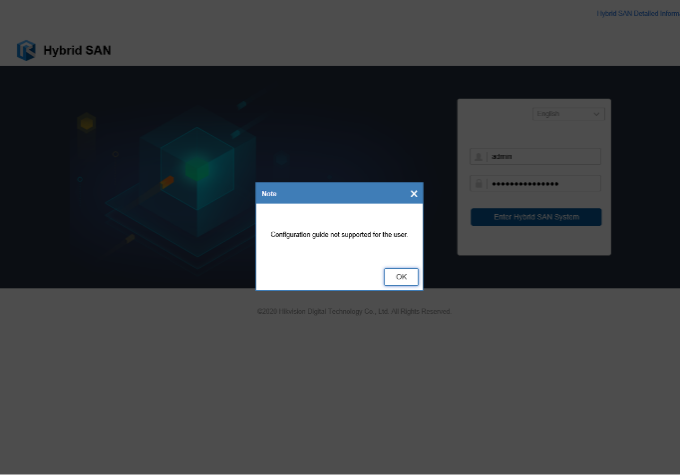
The following prompt will display on each login for the Hybrid SAN web interface screen.
- how to set up Hikvision HybridSAN, how to configure Hikvision HybridSAN, Hikvision HybridSAN user guide, Hikvision HybridSAN tutorial, Hikvision HybridSAN installation manual, Hikvision HybridSAN best practices, Hikvision HybridSAN troubleshooting, Hikvision HybridSAN performance optimization
- Hikvision HybridSAN storage setup guide, Hikvision HybridSAN configuration steps, Hikvision HybridSAN capacity expansion, Hikvision HybridSAN data migration, Hikvision HybridSAN RAID configuration, Hikvision HybridSAN performance tuning, Hikvision HybridSAN integration with NVR, Hikvision HybridSAN integration with VMS
