NVR Settings:
- Configuration – Network – Advanced – Platform Access

- Select Enable
- Enter a verification password 6-12 of letters & numbers and NO special characters.
- Select Save

 Create a Cloud Guarding Vision Account:
 Create an account for your user (Hint: Use your Customers Email Address for User Name) at https://www.guardingvision.com/register
- Select Register
- Enter a User Name, Password , and the Email Address for your Customer
- Enter the Verification Code that is sent to the cell number entered
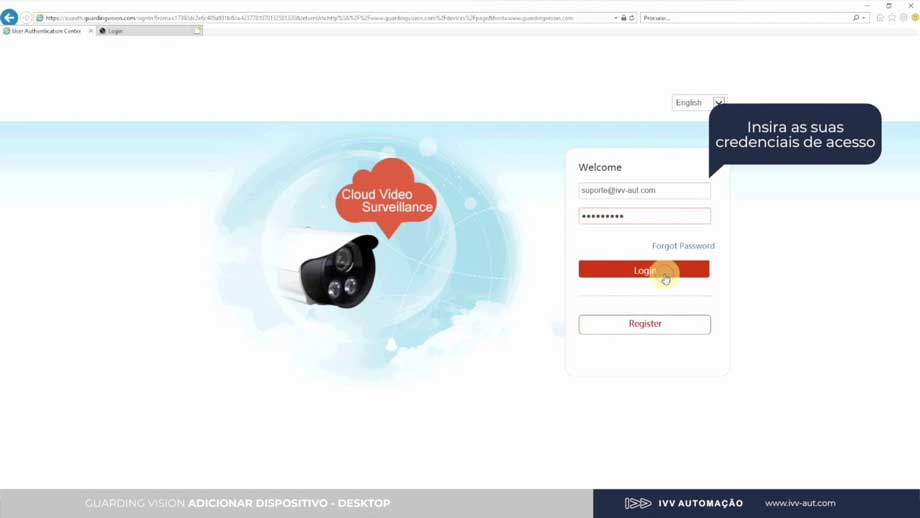
- Login to your Gaurding Vision Account with the Customer Email and Password.

- Add your device to the Guarding Vision’s Customers Account
- Select the Device management Icon

- Select the Add Button to enter your NVR or Supported Camera


Enter your Device Serial Number. If there are characters make sure they are capitalized

- Your Serial Number is a 9 Digit Number found Printed on the Bottom of your Device. You can also find this number in your your NVR settings under System-System Settings

- Enter your Device Serial Number and press search. When the Device is found – you will need to select the “Plus ” Icon.
- If your device is not found, make sure it has network access to the internet.
- Enter your Serial Number, Verification Code and press Add
- Select Search and you should get an Green Success verifying that your device has been added to you customers account
- If you do not get a successful response make sure that your Device is open to the internet and firewall settings are not blocking any ports.
Add the Device to the Guarding Vision Application:
- Download the Guarding Vision Application from the Google Play Store or iTunes Apple store to your device.
- Login to your Guarding Vision Account with the Email and Password that you created in the step above ( Create a Cloud Guarding Vision Account – Step 3)
Add your Device to be viewed in your application. You can add your device by either QR Code Scan or Manual Add (recommended). - Manual Add – Enter the serial number that you used while adding the device to the Guarding Vision Cloud Account and press the Save Icon ( Create a Cloud Guarding Vision Account – Step 10).
- You will see a Results Page when successful
- You can now see your Device and view Video
Add Your Guarding Vision Account to CMS:
- Open and Login to your CMS Client
- Select Device Management
- Select Add New Device Type and Check Guarding Vision Devices
- When you Select Guarding Vision, you will need to login into your Guarding Vision Account that you setup (Create a Cloud Guarding Vision Account – Step 3)
- Under Guarding Vision Device – Select Add Device and Enter your Serial Number ( Create a Cloud Guarding Vision Account – Step 10) and Verification Code ( NVR Settings – Step 3) & Press OK
- Now you will see your Device in the Device Management and Main View Page
TIPS:
- Having issues with entering the Serial Number in CMS – Make Sure your Device is registered in your customers Cloud Account & Online

- Cant See Image – Verification Code Error . This Means that you will need to add or modify your verification code. Or disable video encryption in NVR Settings: Netwrok -Platform Access – Enable Stream Encryption (un-check)

I did all but it does not
These are all utterly hideous.