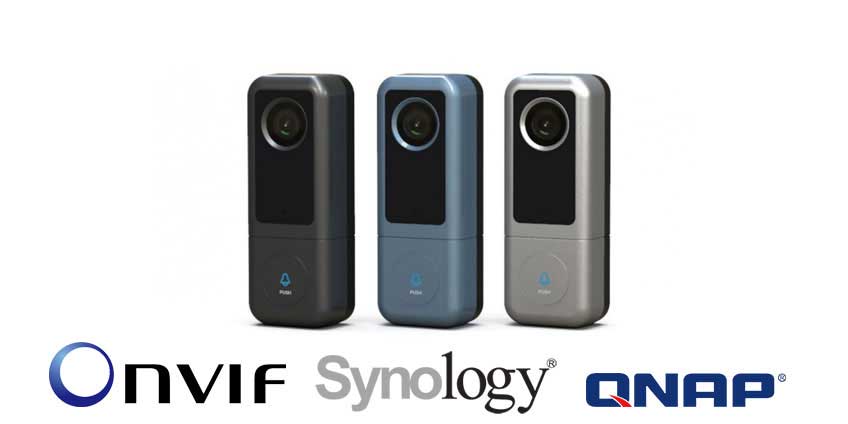
J5 2K smart doorbell is a slim and compact design smart doorbell equipped with a 2K security camera. In addition to seeing the video when doorbell button is pushed, users also can integrate this doorbell to other systems such as Synology NAS and Dahua/Hikvision NVRs which support 24 hours video live view and recording. In this article, we introduce you how to integrate it into the popular Home Assistant, and integrate into Apple HomeKit indirectly so that you’re able to access the video on you rApple devices (iPhone, iPad, Apple TV).
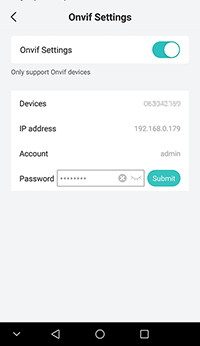
It should be noted that only J5 CloudEdge version can support this feature, because the firmware supports ONVIF protocol. To achieve this integration, users need to enable the ONVIF connection, as it’s disabled when you firstly use this product. Setting up this product according to the instruction manual of J5, running the app and going to doorbell’s settings, enable “Onvif” on page of Onvif Settings, then set a password for it.

Now, you’re able to manually configure the smart doorbell, filling the corresponding information then click “Submit” to complete. As default, it will automatically look for compatible devices in the local network. Alternatively, you’re able to type the corresponding info manually. You’re able to find the ONVIF information by using some tools such as ONVIF device manager, ONVIF device test tool. Here it’s an example shows as below:
Name: customized name, e.g. J5 smart doorbell
Host: the local IP address of J5 doorbell, e.g. 1492.168.0.119
Port: 8000, can not be other number
Username: admin, can not be other user
Password: onvif password when you set via CloudEdge app


